unicorn schultüte

|
|
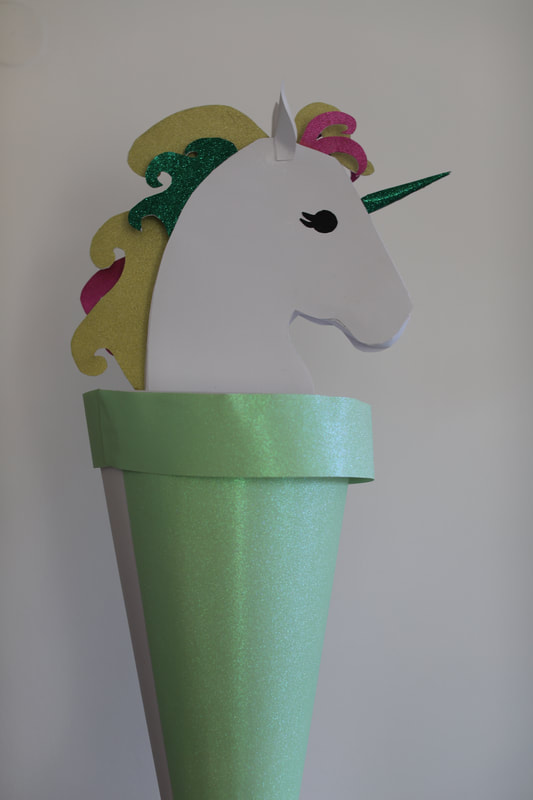
End of summer, beginning of school... What does that call for? Unicorns, obviously. So here's a quick guide to making the first day of school special with a cardboard magical creature full of surprises (and chocolate, because chocolate is magical).
You will need:
1. Cardboard (about 3 big sheets, I used 2 white and 1 glittery green, plus some glitter wrapping paper for lack of double-sided glitter cardboard);
2. Glue ( I used a heavy duty glue+ hot glue and some tape at times);
3. A marker to paint the eyes;
4. Scrap paper for drawing your template (sorry, I was in a bit of rush an didn't create a printable);
5. Scissors, exacto knife, a pencil... and some patience (which I happen to lack).
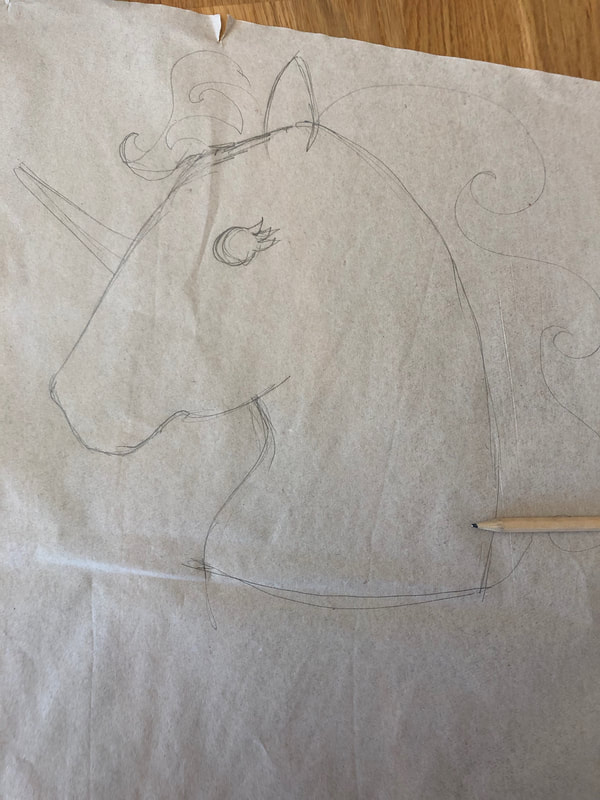
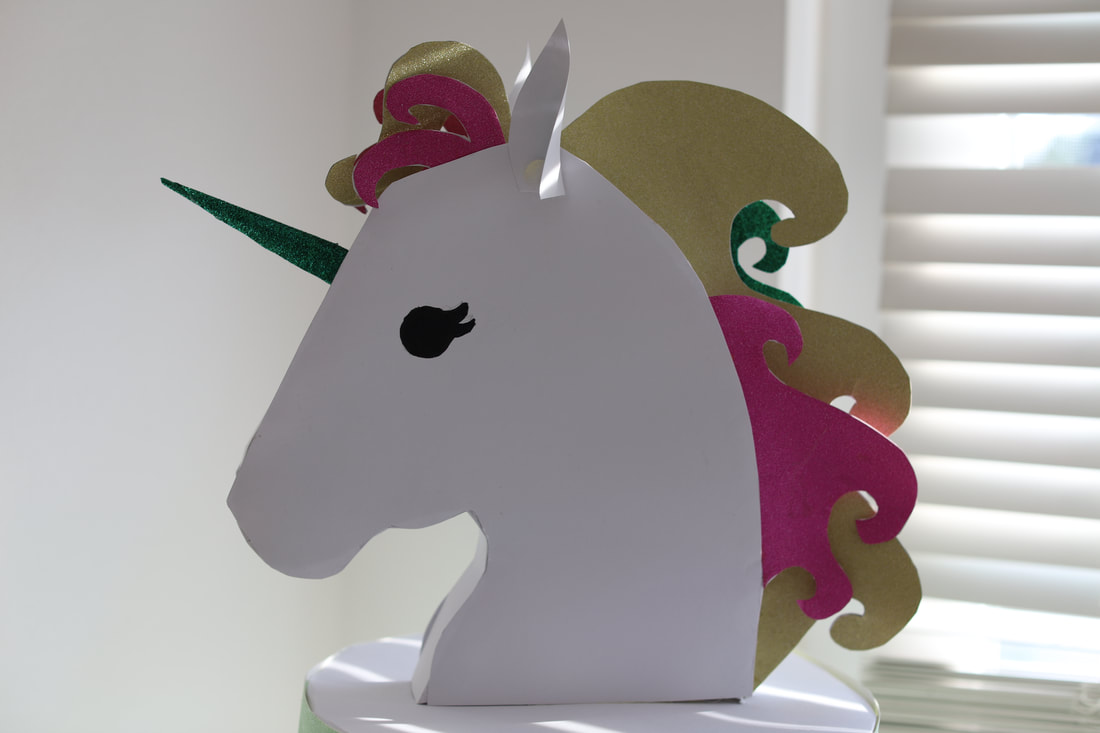
I started with drawing the head an maine. Remember my zebra? That experience surely helped, but my main inspiration came from Zygote Brown Designs and her awesome cardboard costumes.
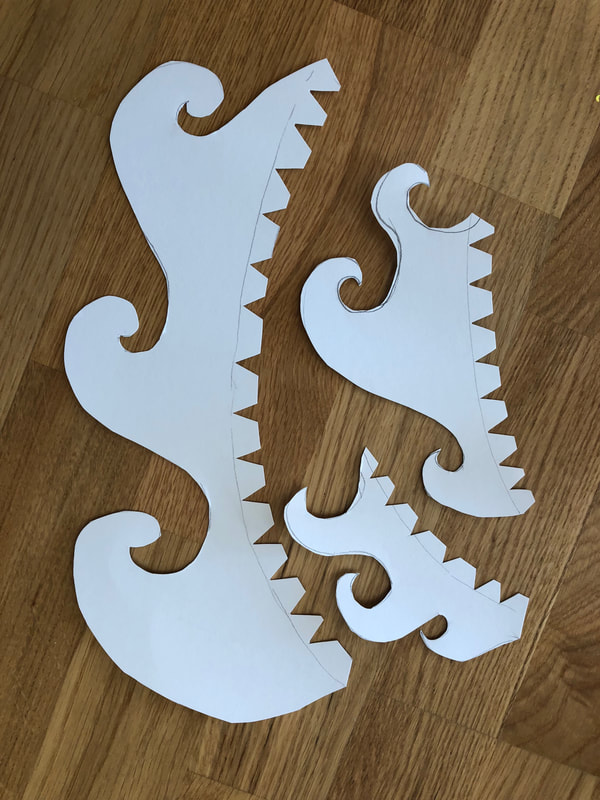
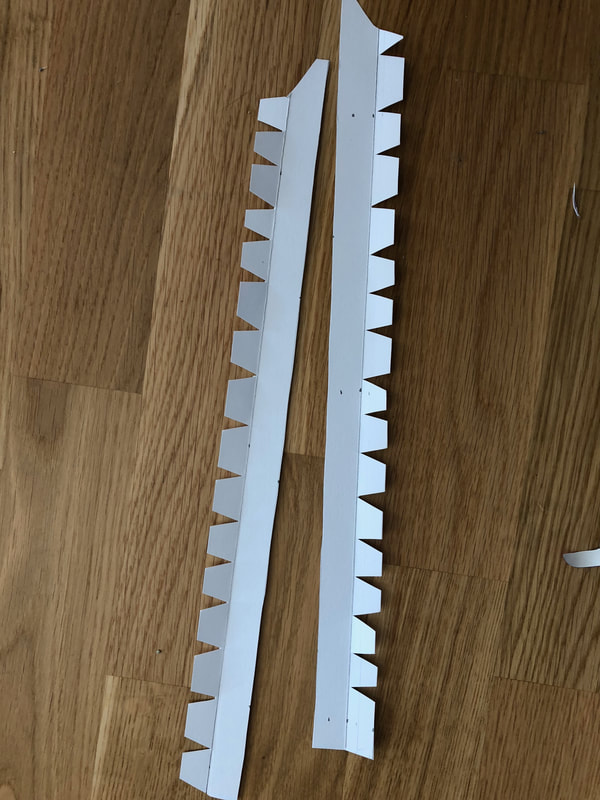
Back to work, I cut two horse head outlines out f my white cardboard.
Back to work, I cut two horse head outlines out f my white cardboard.
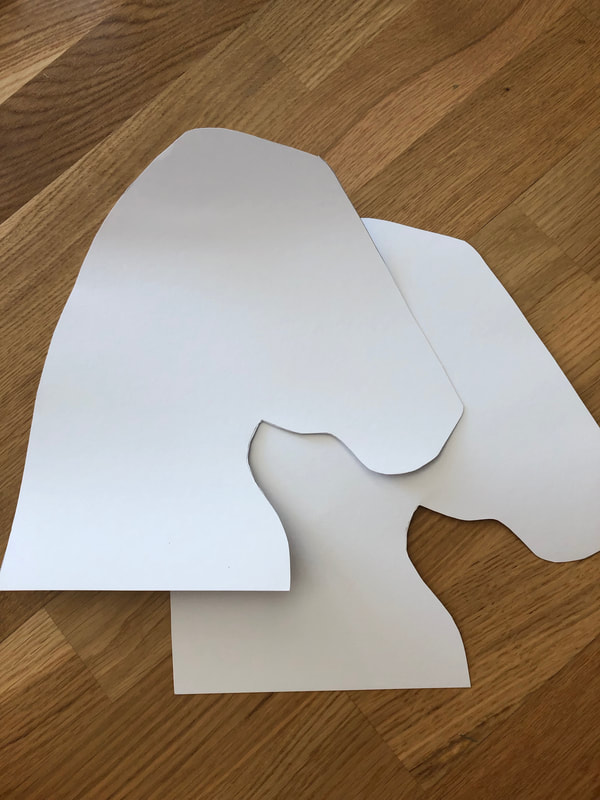
And a small piece that will connect them together (similar to K's flamingo)
|
|
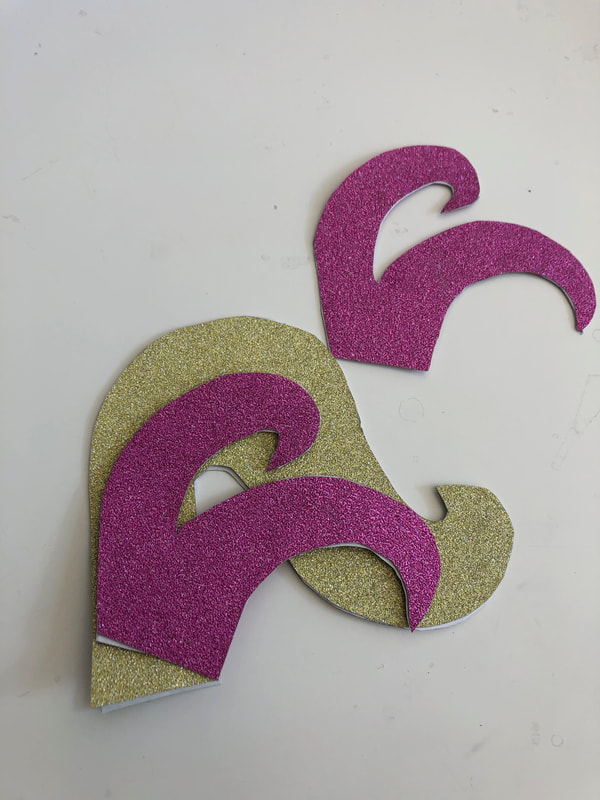
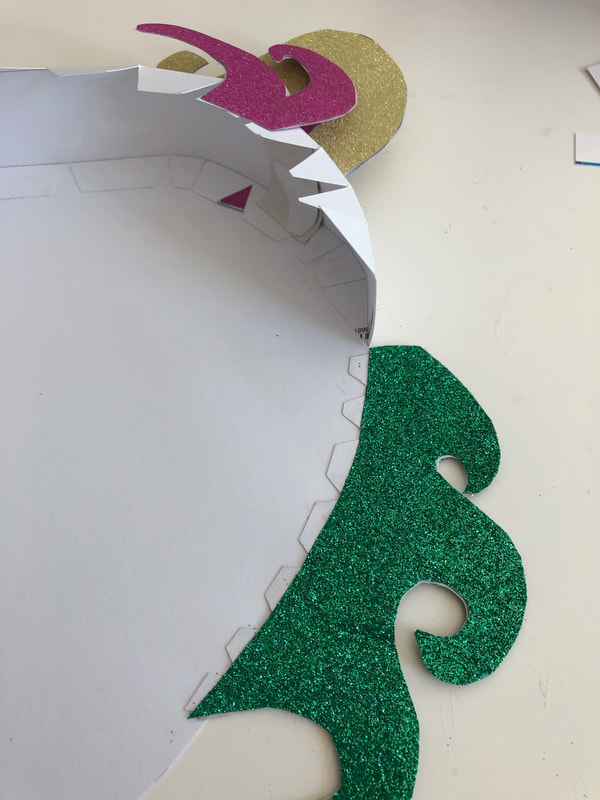
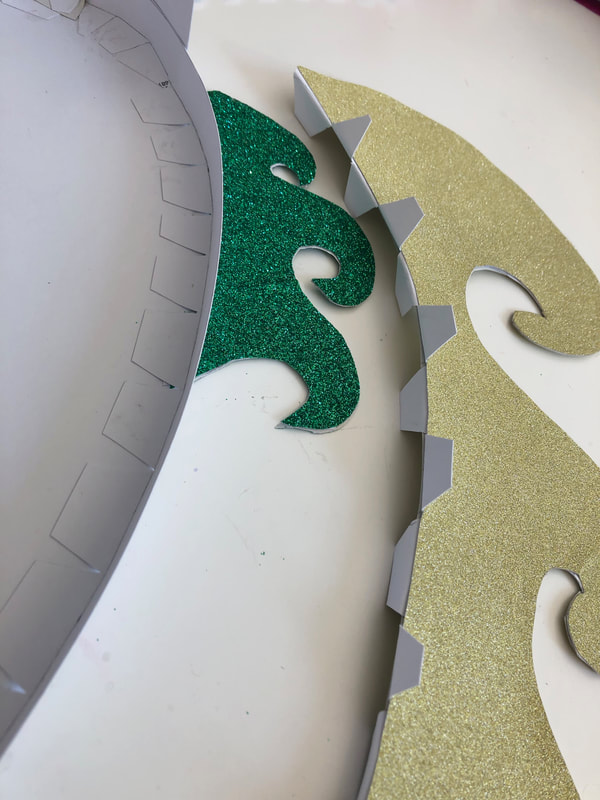
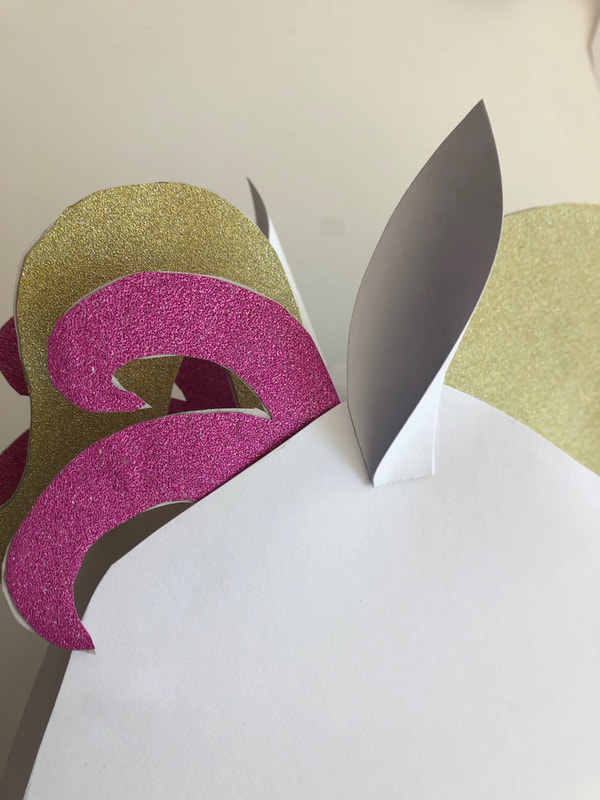
I cut the parts for the forelock from the white cardboard and covered them on both sides with glitter paper. I attached one pink piece on each side and one golden in the middle as shown below.
|
|

|
|
|
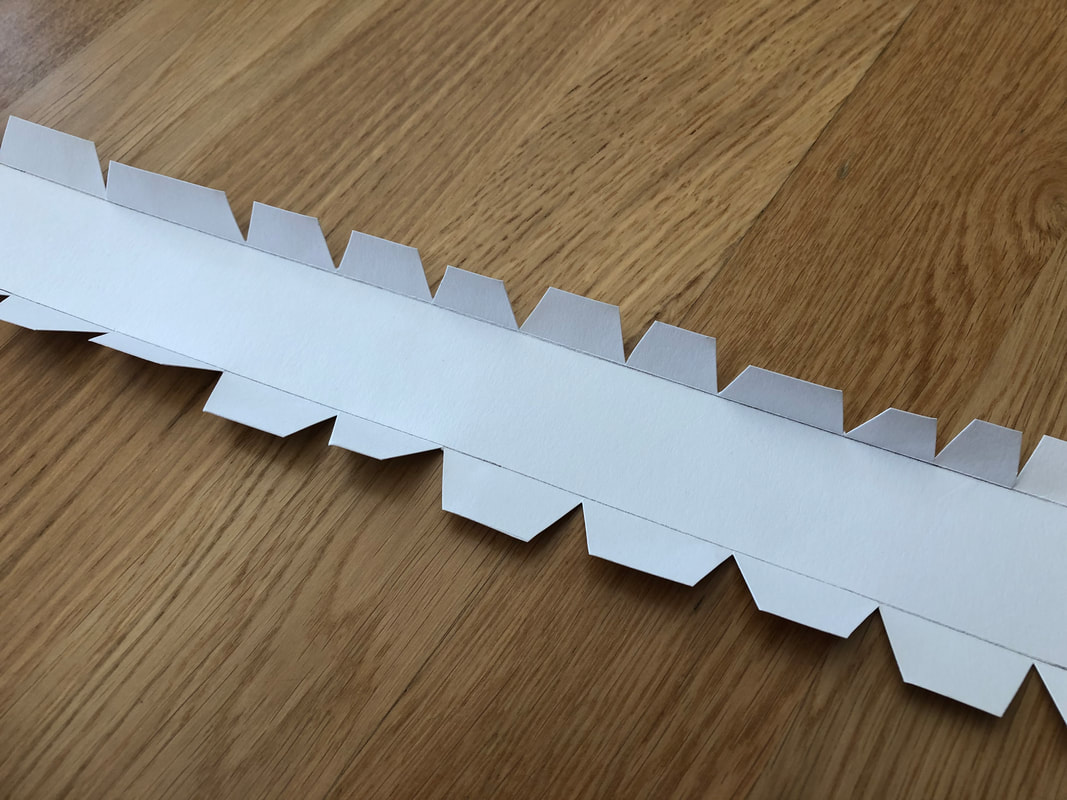
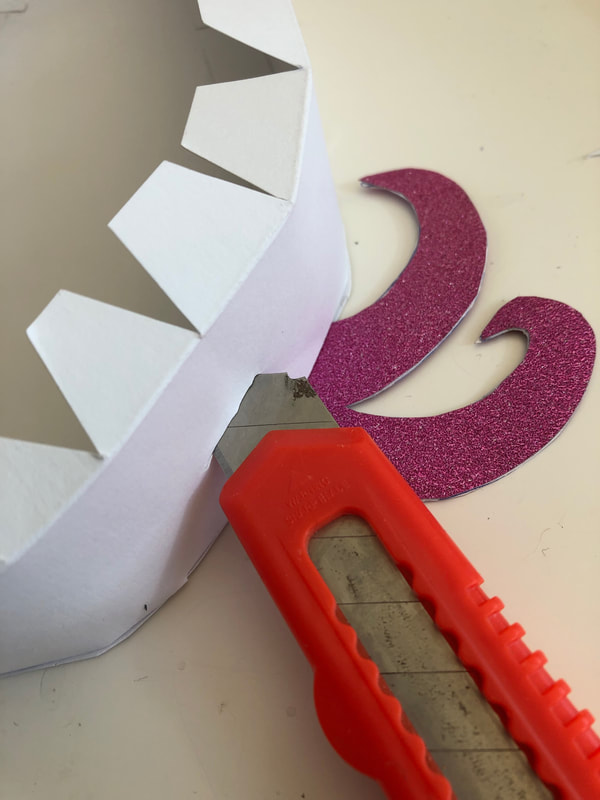
Then I cut the mane and also covered in glitter. For this part, I cut the attachment piece in two, so I could glue the pieces of the mane in different layers.
|
|

|
|
|
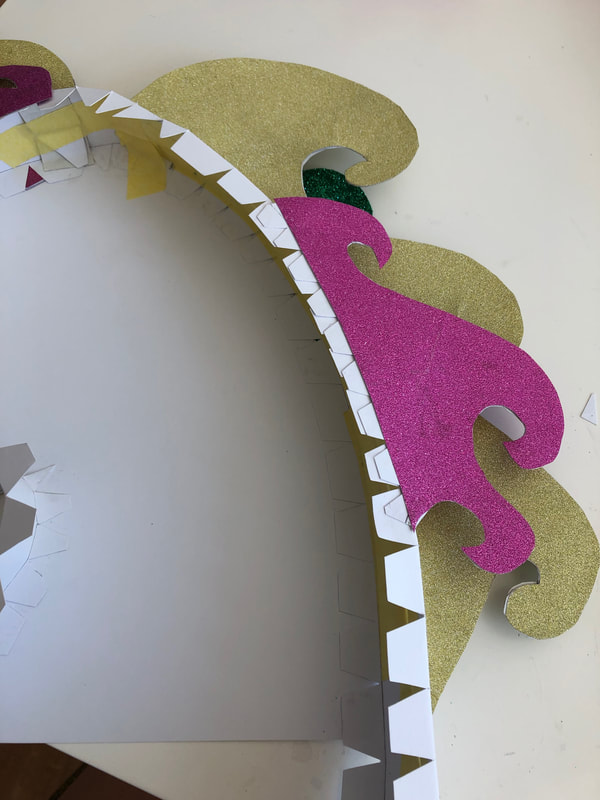
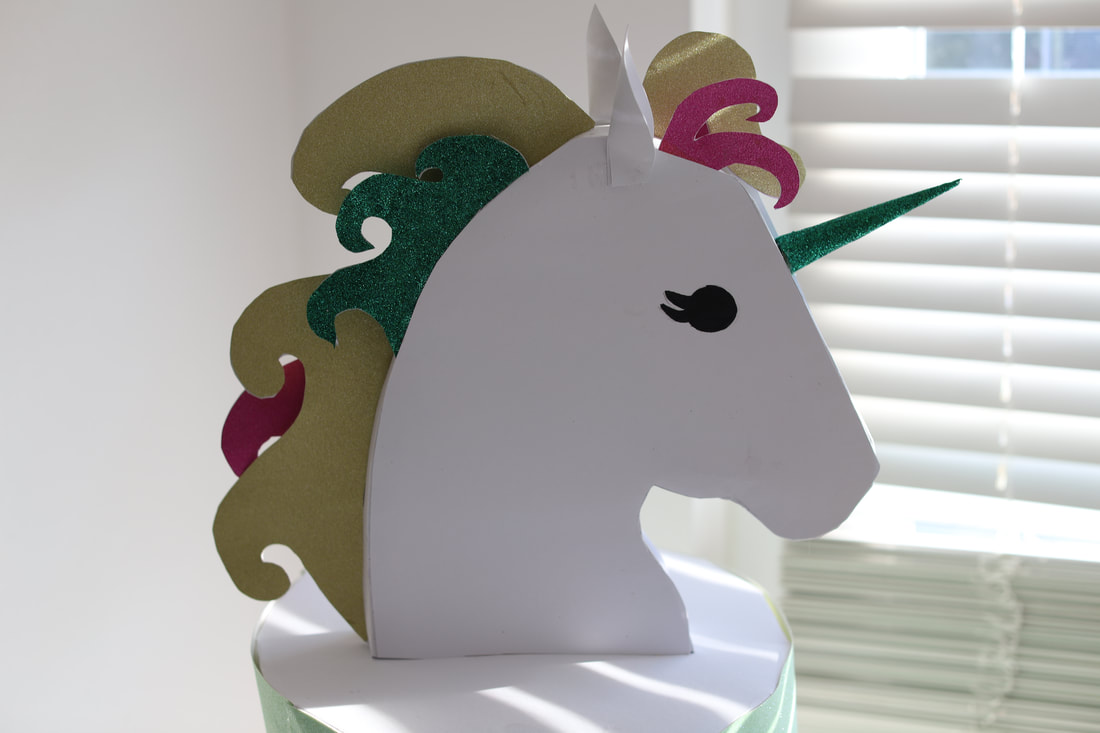
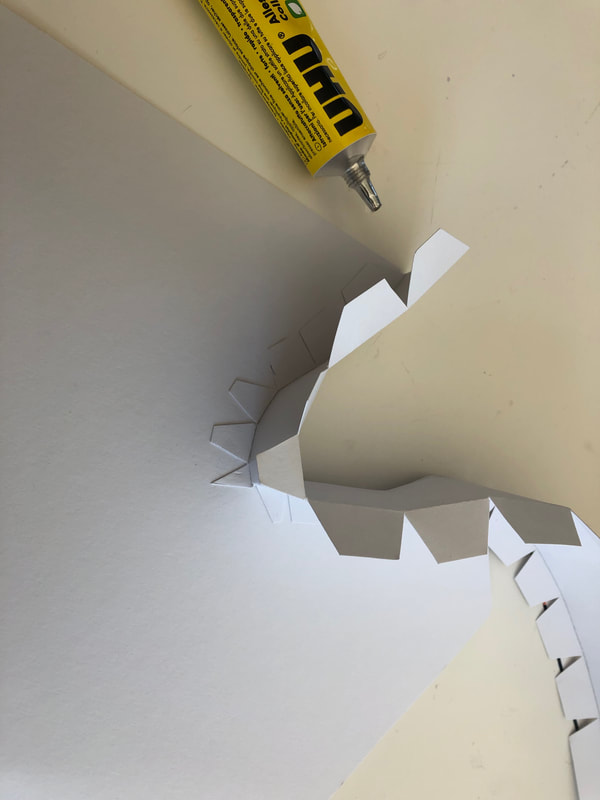
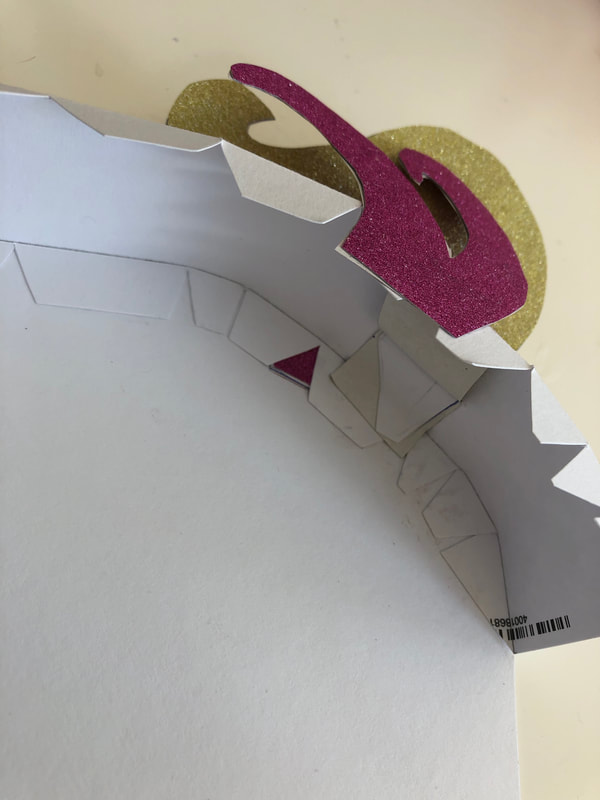
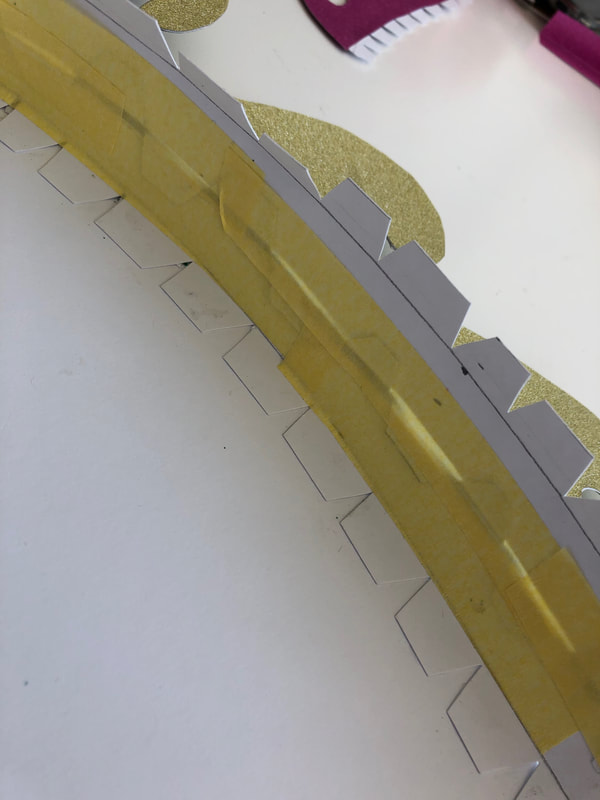
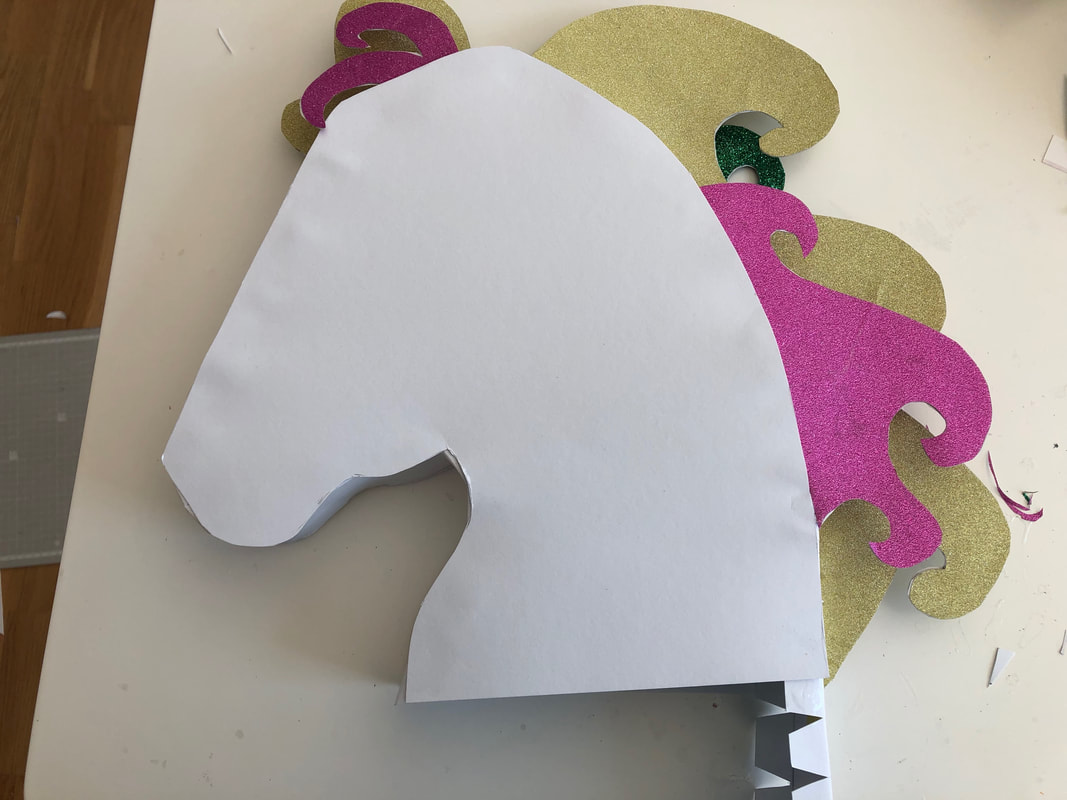
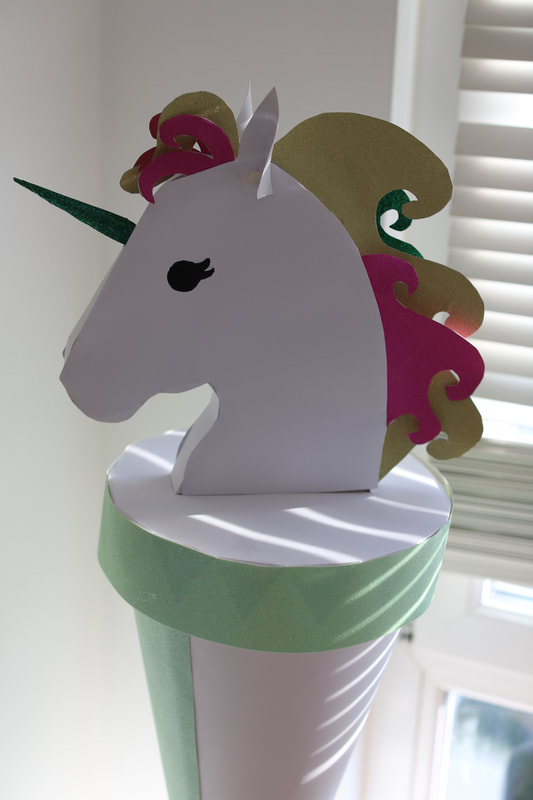
Once you have all the mane pieces attached, unstick your fingers and glue the other horse head outline on top. I left the attachment piece in the back so I could use it later to fix to the base.
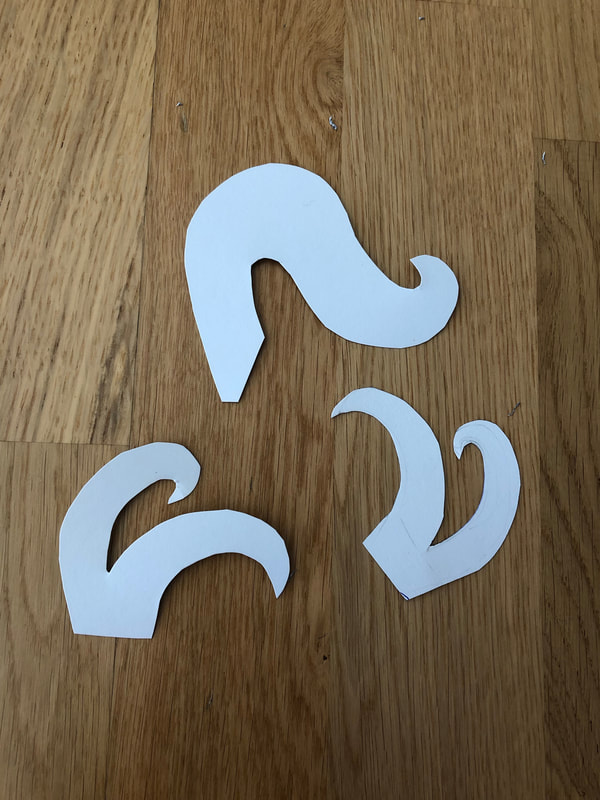
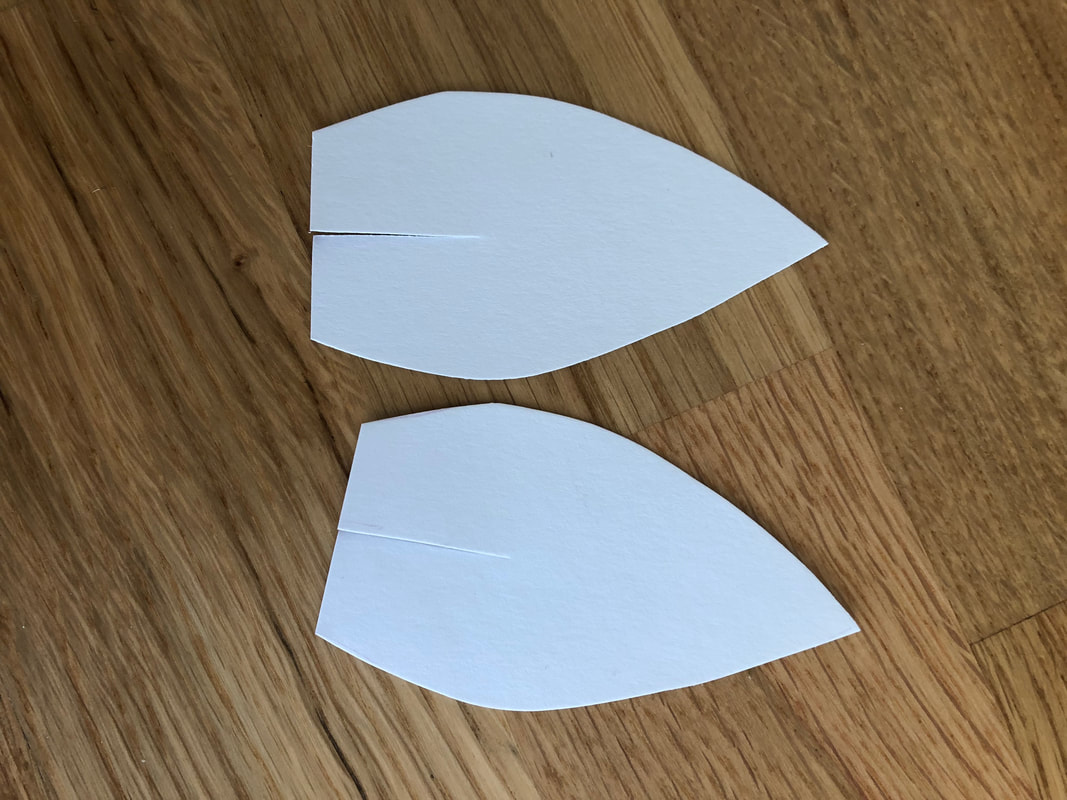
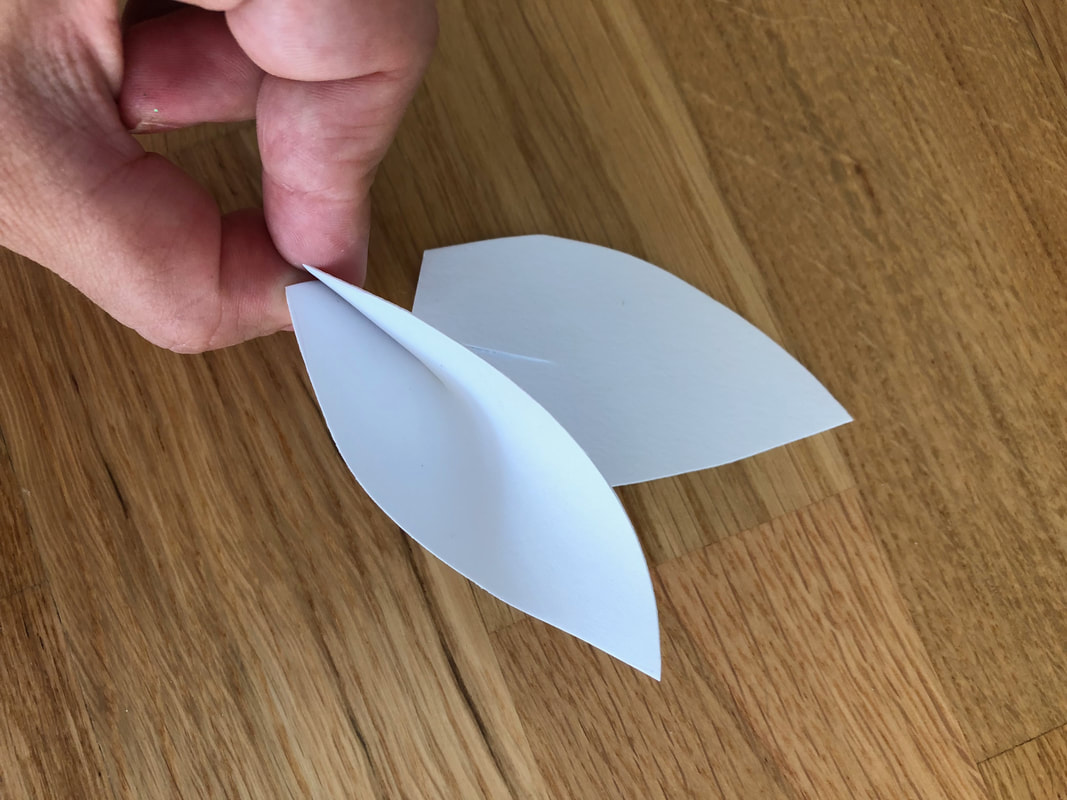
Here is how to make the ears.
|
|
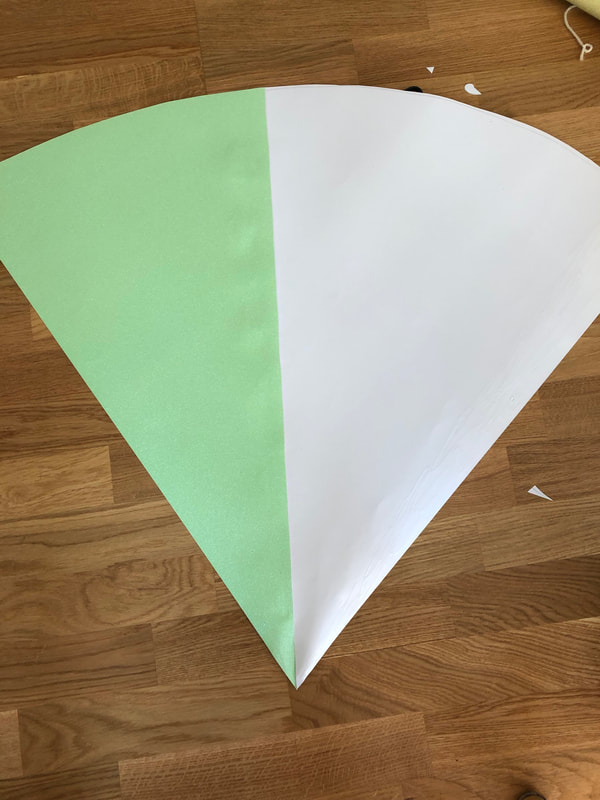
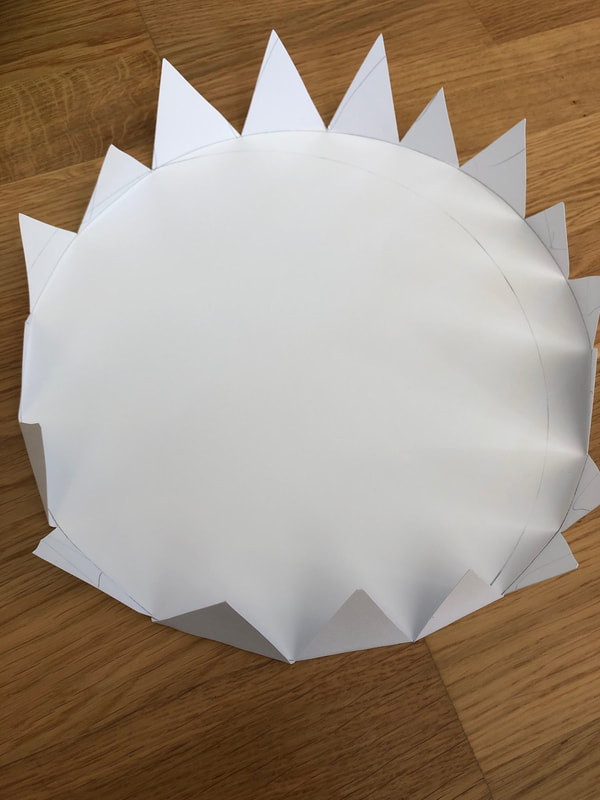
And the main part: the actual cone and lid. I used the glitter paper for the front, cause when little hands carry it they won't leave fingerprints on the white part. I would have probably used glitter paper throughout, but the shop I got it from was out.
|
|
And, of course, don't forget the horn - after I attached the head to the base with little strips of paper and glue, I suddenly realized I'd forgotten the horn. No worries - there is always hot glue to the rescue. Ta-daa! Glitter horn glued on the head.
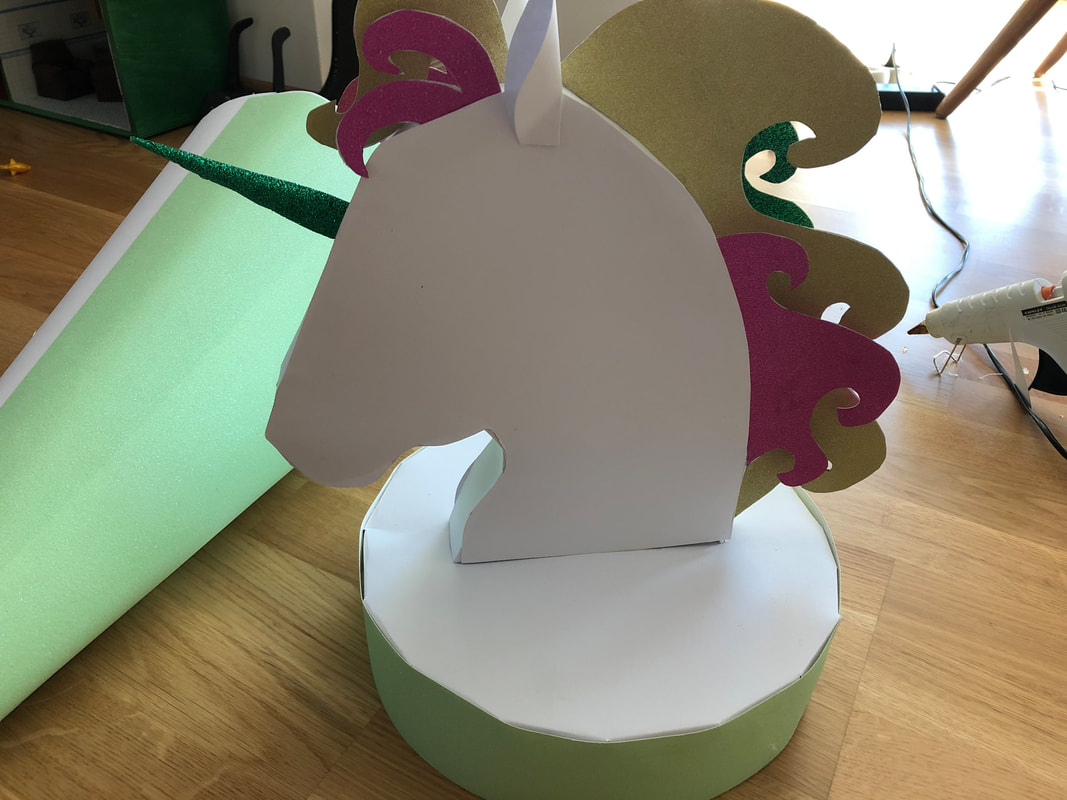
I drew some eyes with glitter marker (yes, they have those in black) and K now has a magical school cone. I hope she gets some magical school moments too. :)
Happy crafting!
