3D Butterfly Embroidery
I am starting this project idea with a disclaimer: I have never really embroidered in my life, if we don't count the pillowcase in 5th grade Home Economics class. I also didn't watch embroidery tutorials first (maybe I should have!). Yet, I watched some episodes of The Sword and the Brocade and I decided I can embroider, too. :D So here it is, my attempt to inspire you too:
You will need:
1. Embroidery yarn and needle;
2. Embroidery cloth (or just a fabric you like);
3. Embroidery hoop and sharp scissors;
4. Flower wire;
5. Glue (optional).
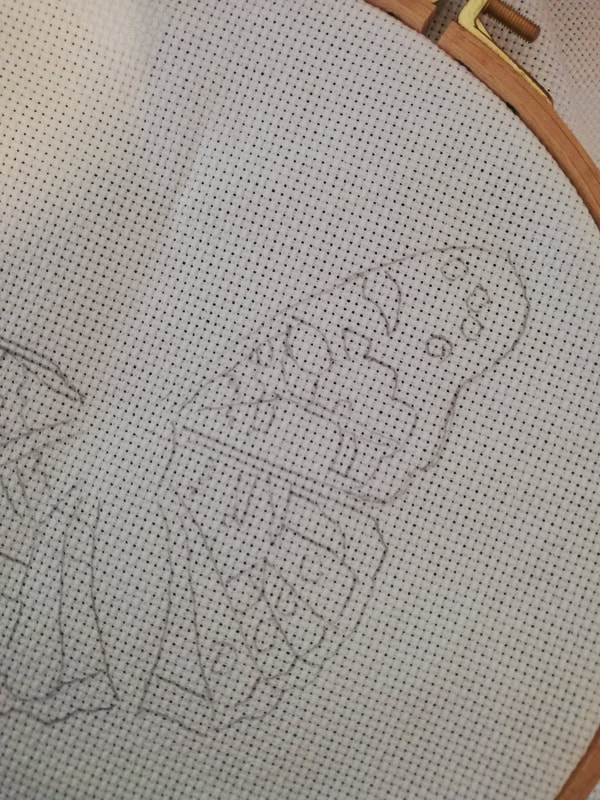
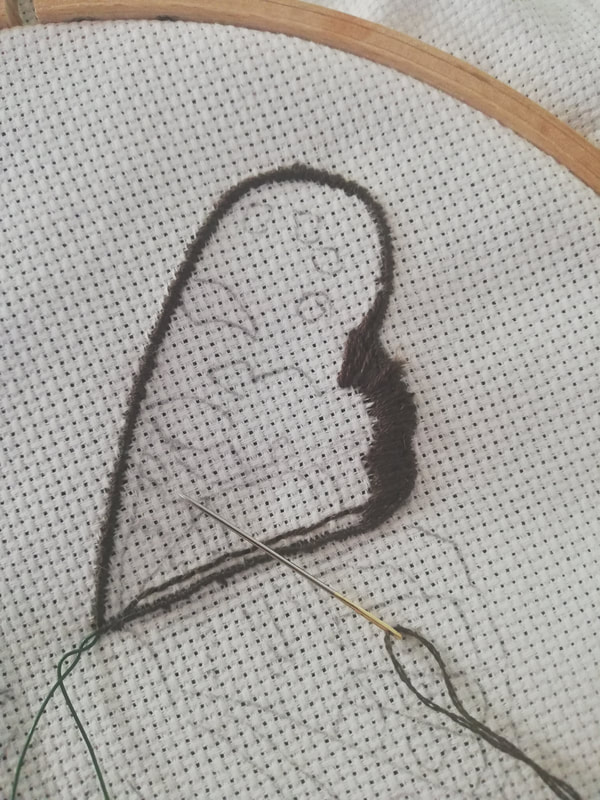
Start by transferring your design on the fabric. I liked a butterfly drawing, so that's what I used. Since I wanted my butterfly to "fly", I started with my wings first:
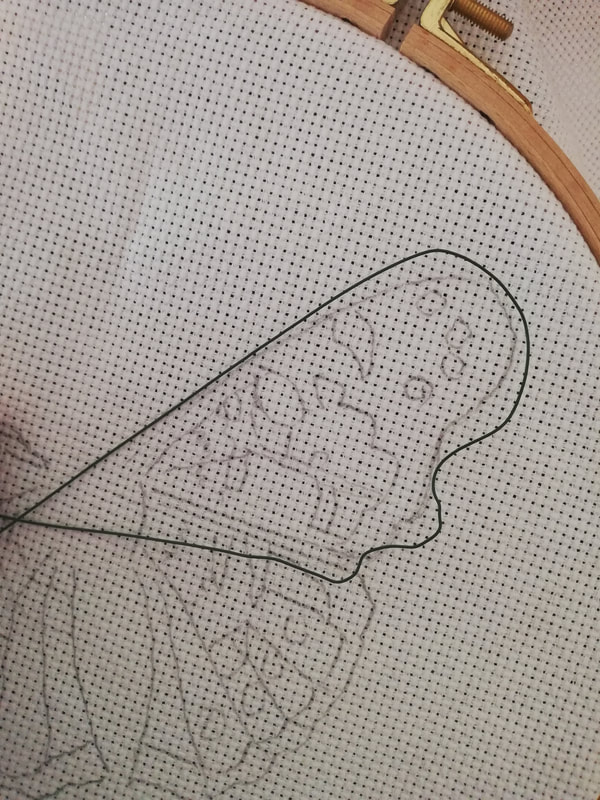
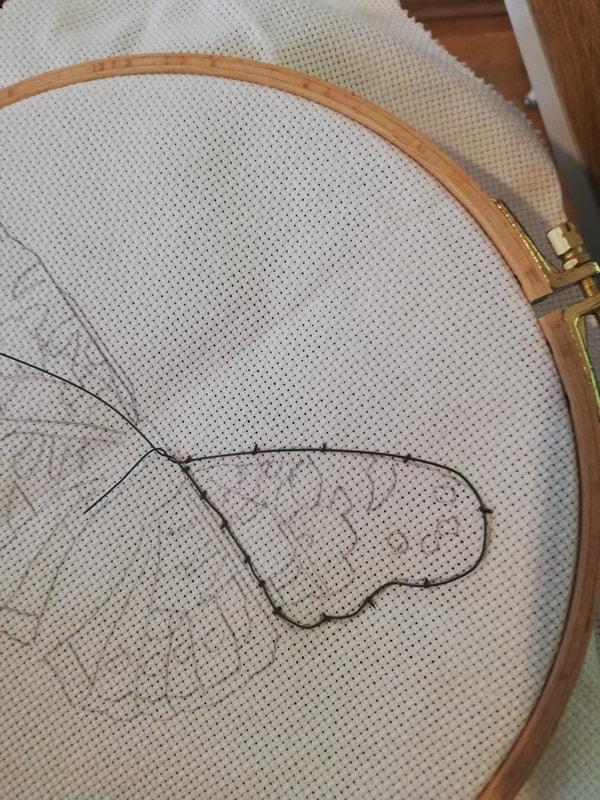
I followed the wing outline with the flower wire and fixed it in place.
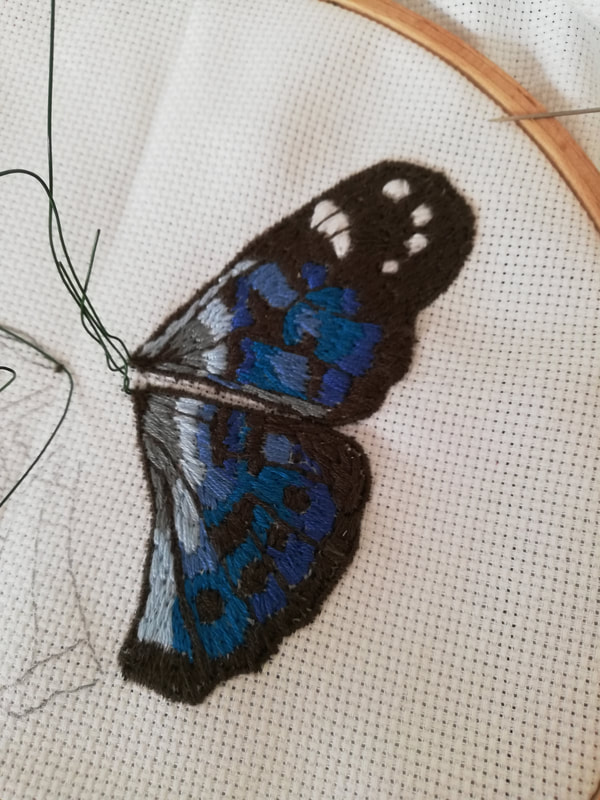
Then I continued embroidering the wings as I would normally do (assuming that's how you normally do it) :)
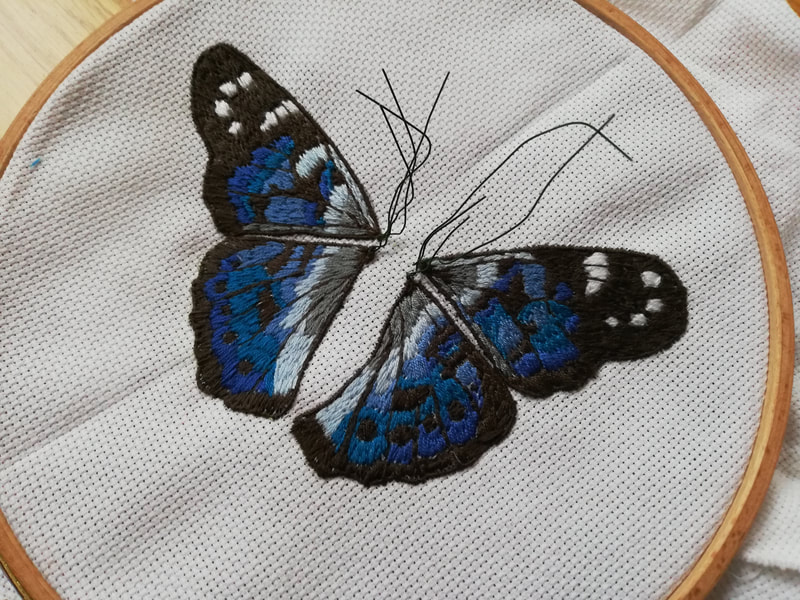
I did that for all wings.
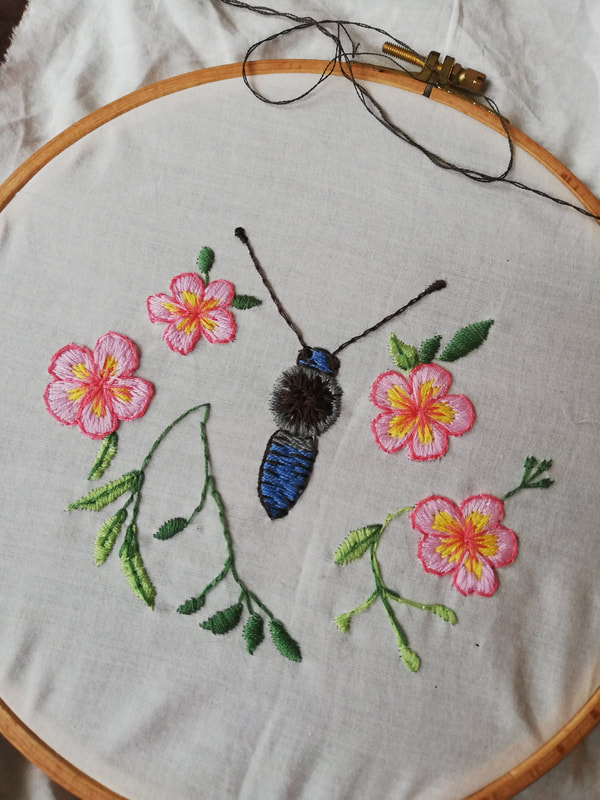
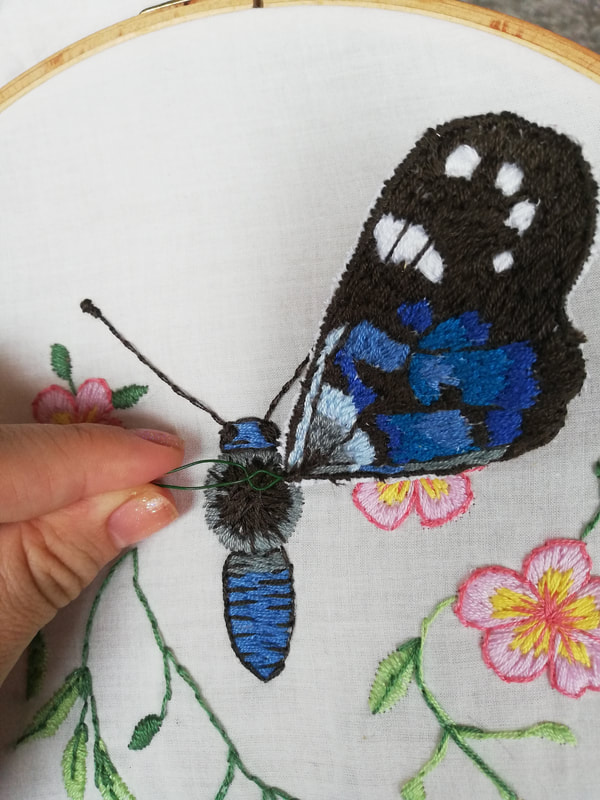
Then, I cut the wings out and finished the edges with glue (cause my cutting was not exactly perfect and my butterfly was getting hairy). I then put on the embroidery hoop another fabric and I prepared by background and butterfly body.
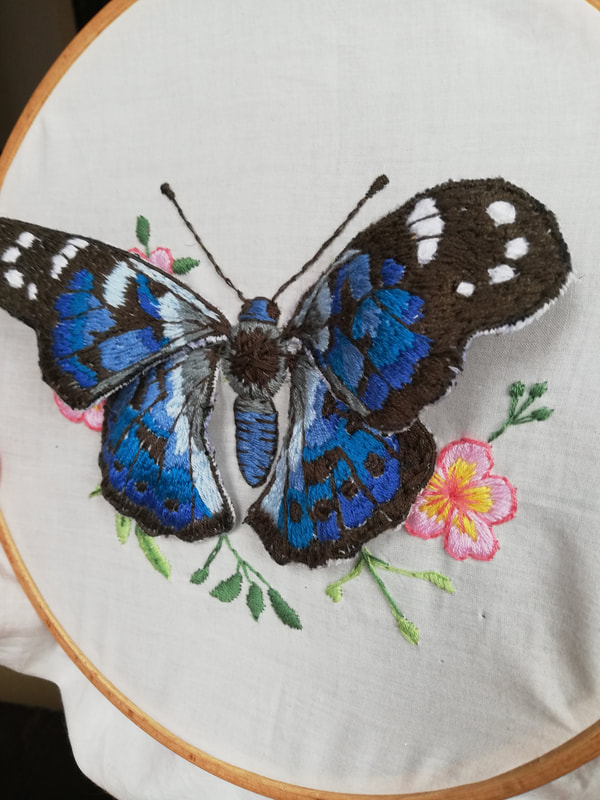
I then added the wings and fixed them in place.
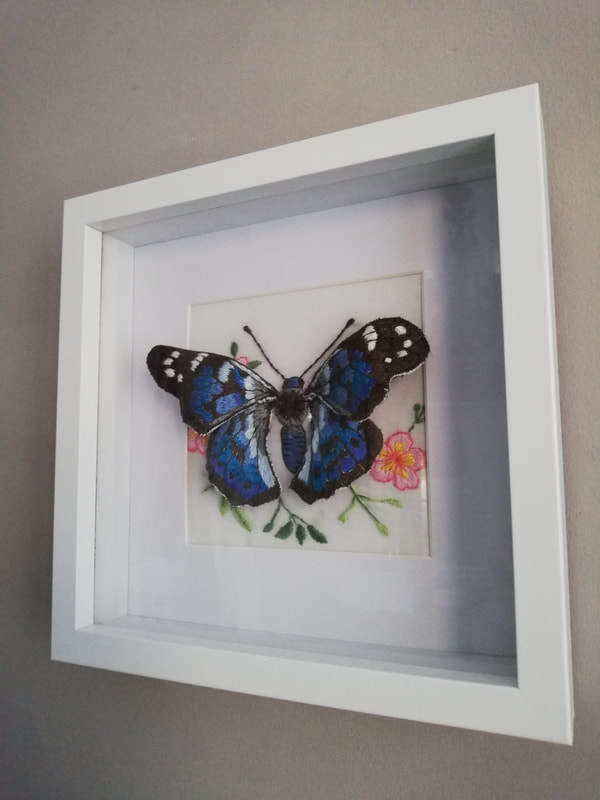
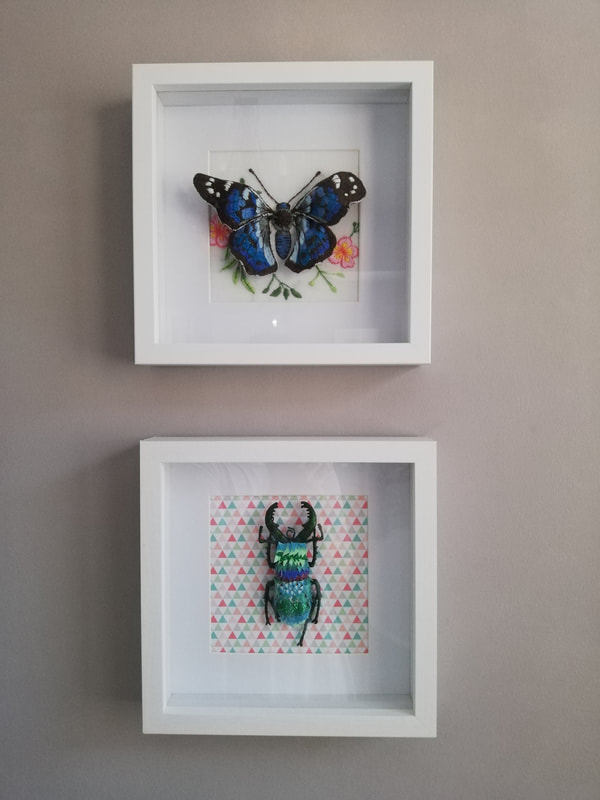
My ready butterfly! I am so proud, just don't look at the close-ups. :D Hope this can inspire you for some "grandma" activity too. Enjoy!
