A resourceful site for free resources. TO made it!
  • Home
  • DIY, cause you can
    • Toys for babies, toddlers and grown-ups >
      • Recycled art giraffe
      • Owl decoration
      • Baby soft blocks
      • Felt horse
      • Felt flamingo
      • Crochet bunny
      • Crochet bear with lifesaver
      • Snow Globe
      • Felt Christmas tree
      • Christmas tree 2
      • Garden in a box
      • Snowflakes
      • Snowflakes 2
      • Felt peacock
      • Sock monkey
      • Stick constructor
      • Foam tomahawk
      • Gymnastics ribbon
      • Fishing game
      • Snowman keepsake
      • DIY Catapult
      • Project Dollhouse >
        • Dollhouse bathroom vanity
        • Bathroom vanity 2
        • Dollhouse sofas
        • Dollhouse bed
        • Dollhouse chandelier
        • Dollhouse fridge
        • Dollhouse furniture hinge
        • Dollhouse lampshade
        • Dollhouse kitchen chairs
    • Paper crafts >
      • Dino Schultüte
      • Christmas star
      • Easy paper star
      • Pirate ship cupcake stand
      • Pirate chest piñata
      • Dragon piñata
      • Origami bouquet
      • 3D origami owl
      • How to weave a basket from newspapers
      • Balloon Clown
      • Flying birds
      • Cupcake stand
      • Cake pop stand
      • Paper basket
      • Paper butterflies
      • Diy Totem Pole
      • Paper headdress
      • Paper Carousel
      • Paper Ferris Wheel
      • Big Top Cake Pop Stand
    • Party ideas >
      • Hello Kitty party
      • My Little Pony Party
      • Pirate party
      • Dinosaur party
      • Princess frog party
      • Little Red Riding Hood Party
      • Pow Wow Party
      • Circus Party
      • How to train your dragon party
      • Party bowl
    • Accessories >
      • Heart necklaces
      • Soutache earrings DIY
      • Beaded statement necklace
      • No sew ball purse
      • Summer anklet
    • Halloween ideas >
      • Spider costume
      • Family monster hats
      • Make-up
      • Easy Halloween decoration
      • Sweet Skeleton Toy
      • Toddler knight costume
    • Homemade cosmetics >
      • DIY Body Spray
      • Sugar scrubs
      • Bath salts
      • Dry Shampoo
    • Sewing patterns >
      • Sleeping mask
      • Easy toddler dress
      • Little Red Riding Hood Cape
      • Alice's apron
      • Bunny dress
      • Talisman bag
      • Toddler Dress Coat
      • Sitting pillows
      • Dirndl purse
      • Easy pillowcase
  • Photography
    • Vienna Photo Marathon 2013
    • Vienna Photo Marathon 2014
    • Vienna Photo Marathon 2015
    • Vienna Photo Marathon 2016
    • Black and white challenge
    • Black and white challenge 2
  • A cook without a book
    • DIY Beeswax Wrap
    • Homemade hazelnut spread
    • Homemade cup-a-noodles
    • Gingerbread house template
    • Cookie balls
    • Homemade gummy bears
    • Peacock cake
    • Summer lemonade
    • Healthy sweets
    • Vegan cake
    • Cheese balls
    • Crackers
  • The blog of the block
  • Contact

DIY Beeswax Wrap

Picture
It's super easy, it cuts back on your plastic waste, it's a great alternative to the cling wrap and ziplock bags. And can be washed and re-used! You only need:

1. 100% cotton fabric (the thinner, the better);
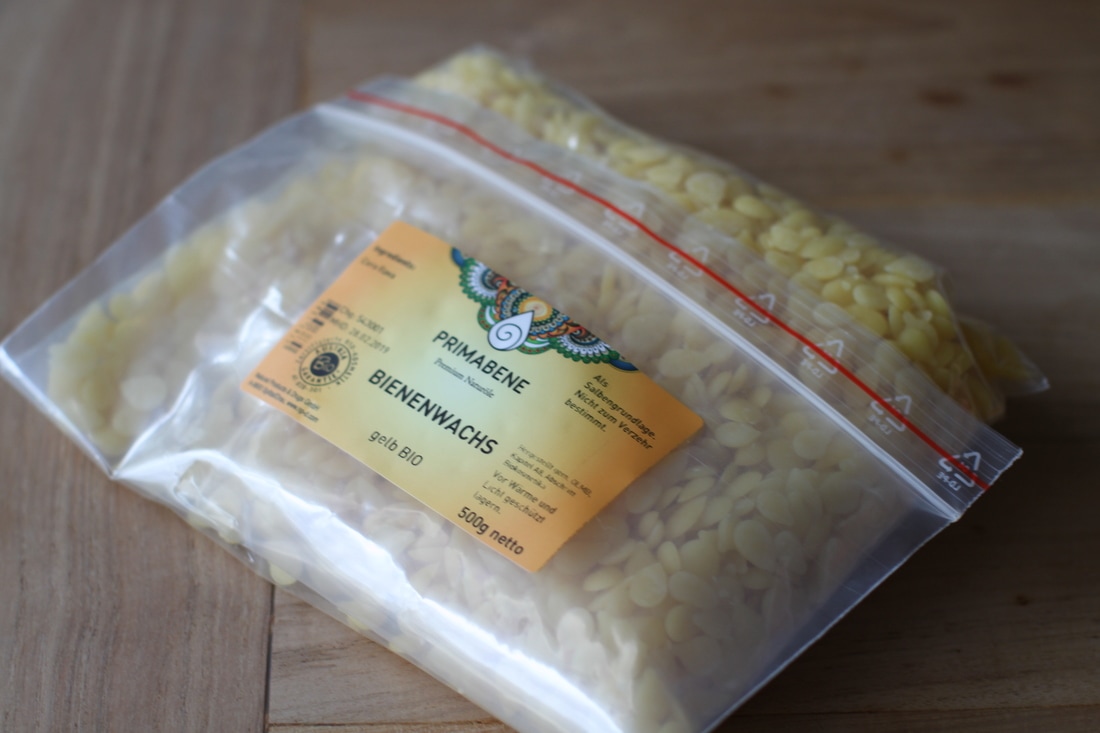
2. Beeswax;
3. A cookie sheet/ parchment paper;
4. An oven (you could use an iron, but it gets messy);
5. A clean paintbrush.
Picture
Picture
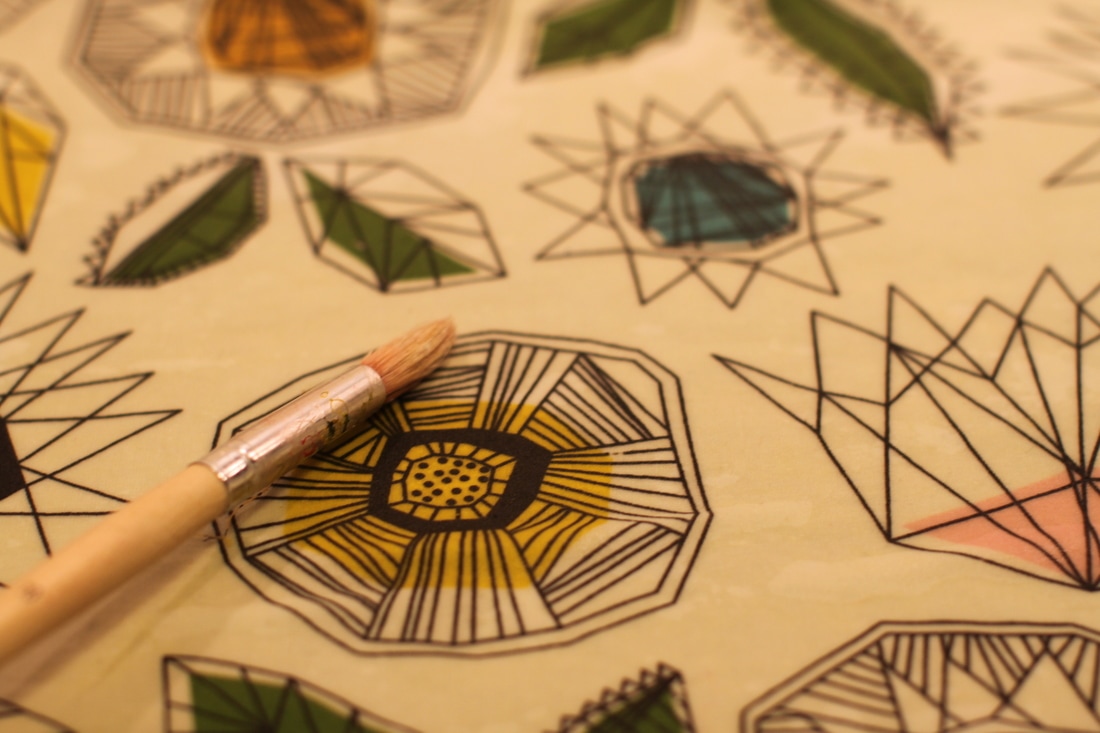
Cut your fabric into a rectangle to fit your cookie sheet or parchment paper. Sprinkle with beeswax pellets or grated beeswax.
Picture
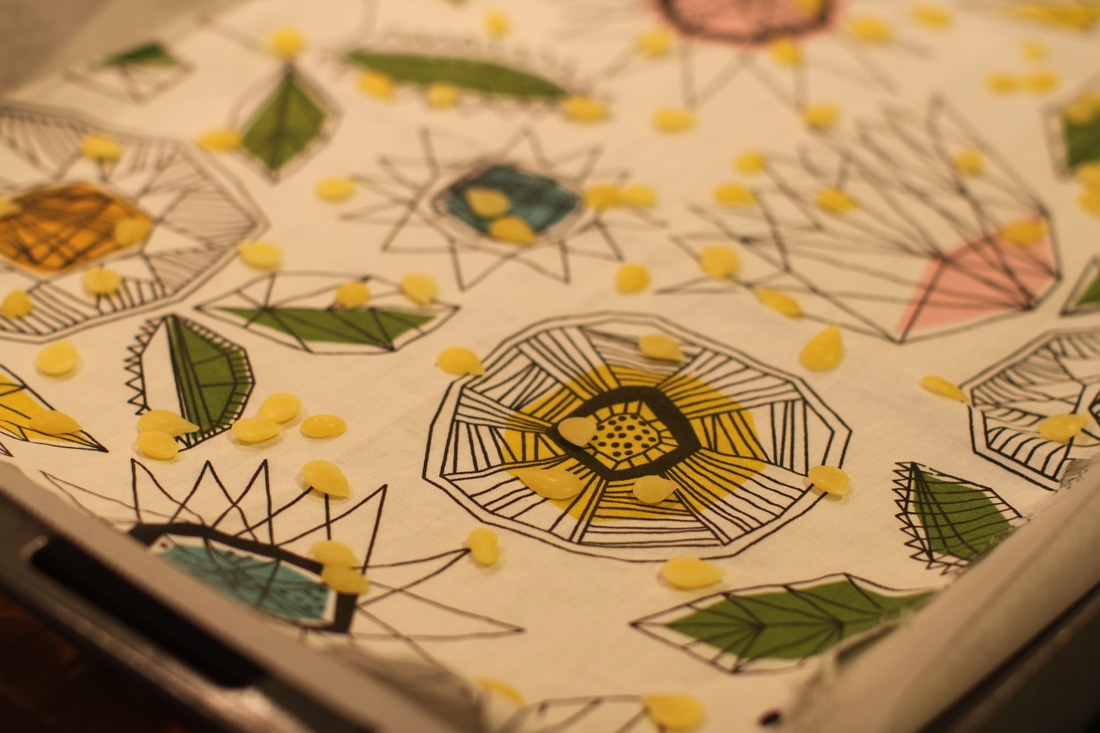
You don't need much beeswax, just make sure to sprinkle it evenly. Put in a pre-heated oven until the wax melts (around 5 minutes).
Picture
Spread the melted wax evenly on the fabric with the brush. Bigger flat brush works best. If you have put too much wax, you can place another fabric piece on top of the first one and spread on both. If the wax hardens before you are ready, simply put it back in the oven for a minute.
Picture
Once the wax is spread evenly, lift off the cookie sheet and hang/ hold to dry.
Picture
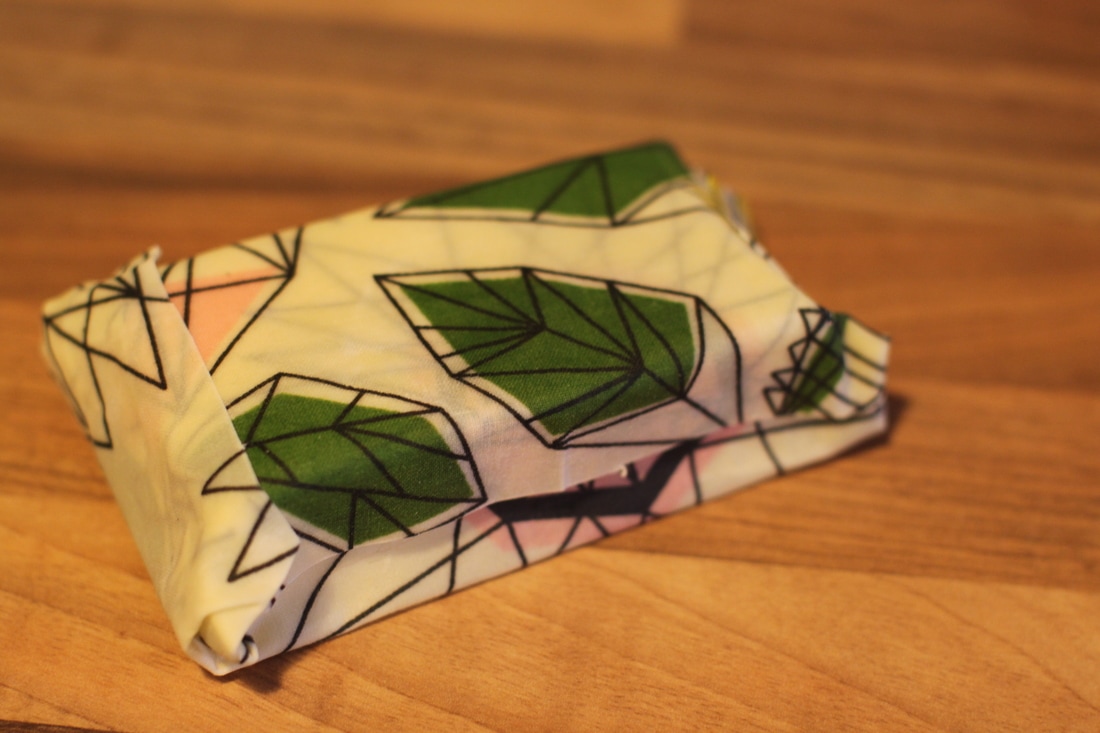
Now you need to cut out any fraying edges...
Picture
... and you are ready to wrap your cheese!
Picture
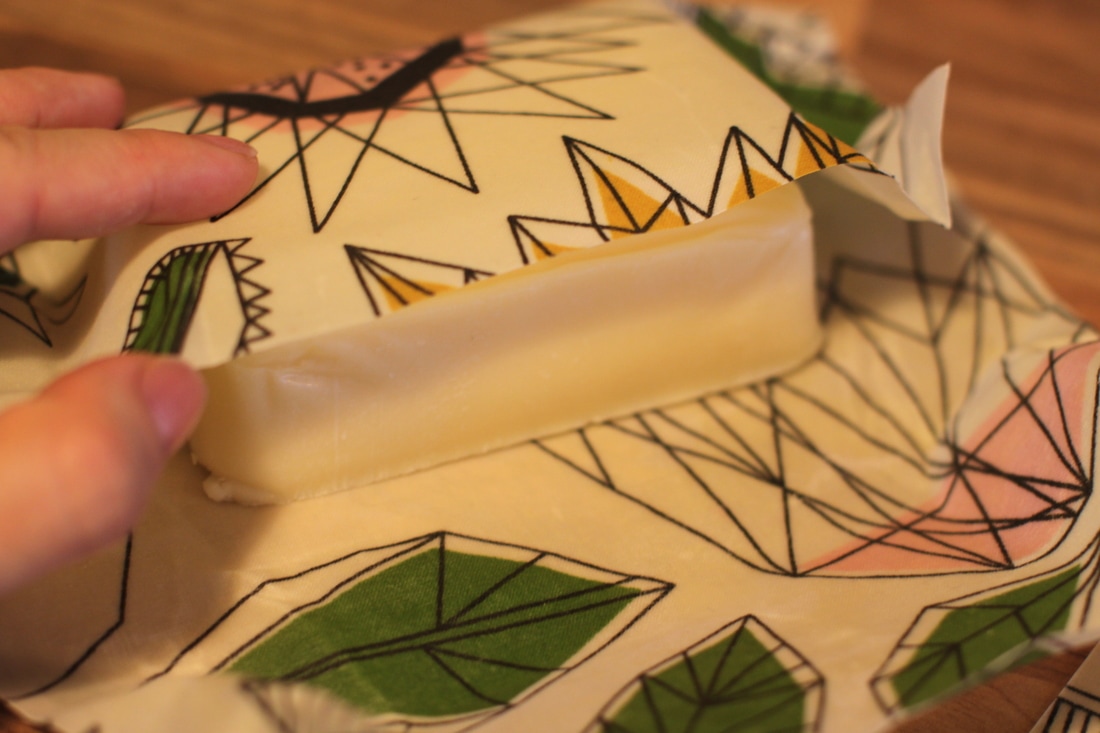
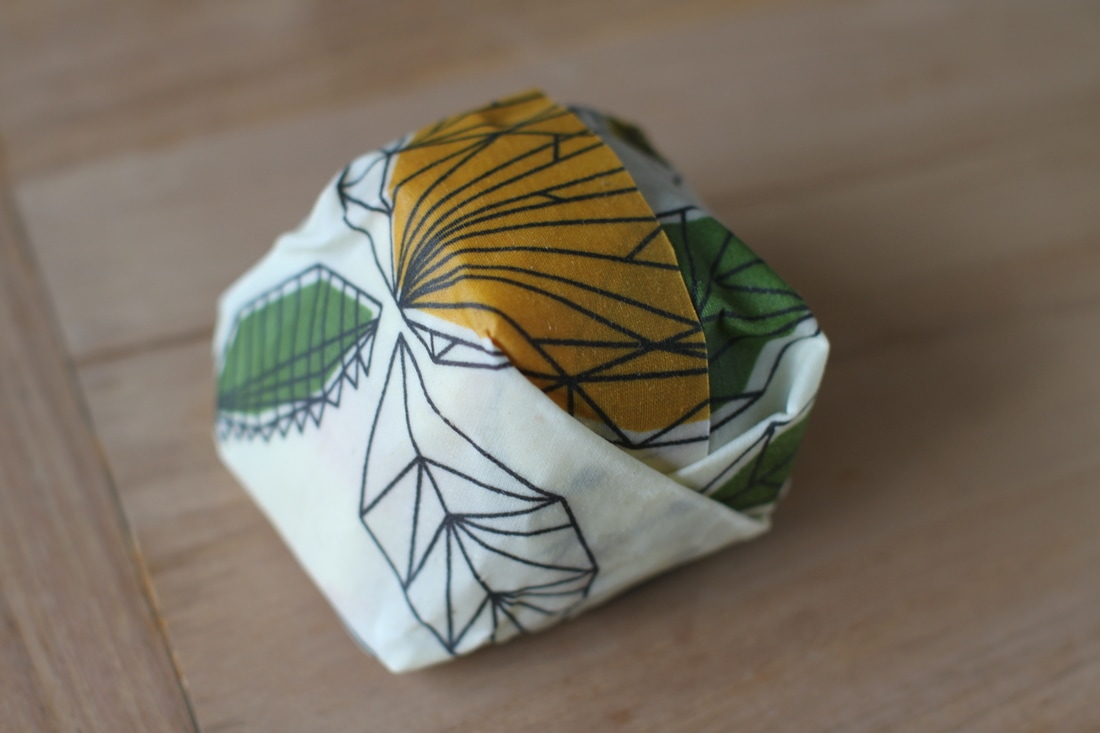
The wrap becomes slightly sticky when warmed in the hands, so you can fold an seal it around just about anything. You can wash the wrap with cool water (beeswax could melt in hot water), which means you cannot use the wrap on raw meats. It should be good for re-use for up to a year, and then you just re-wax it. How cool, eh?
Picture
Powered by
✕