DIY TOP HAT
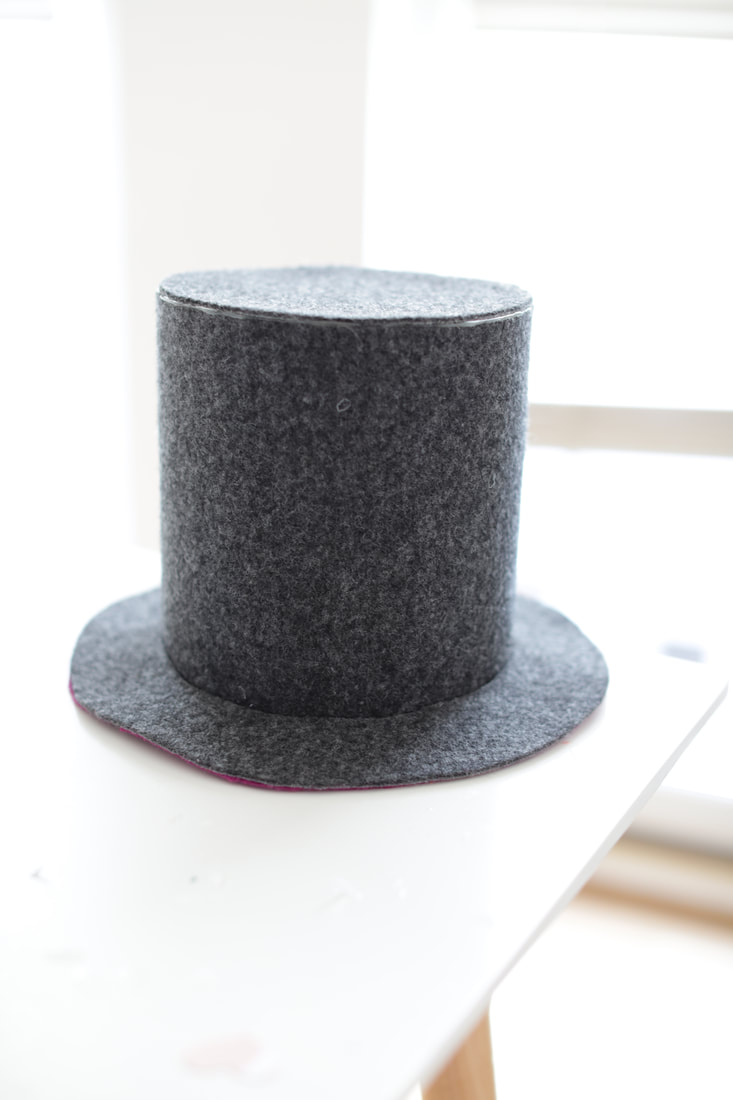
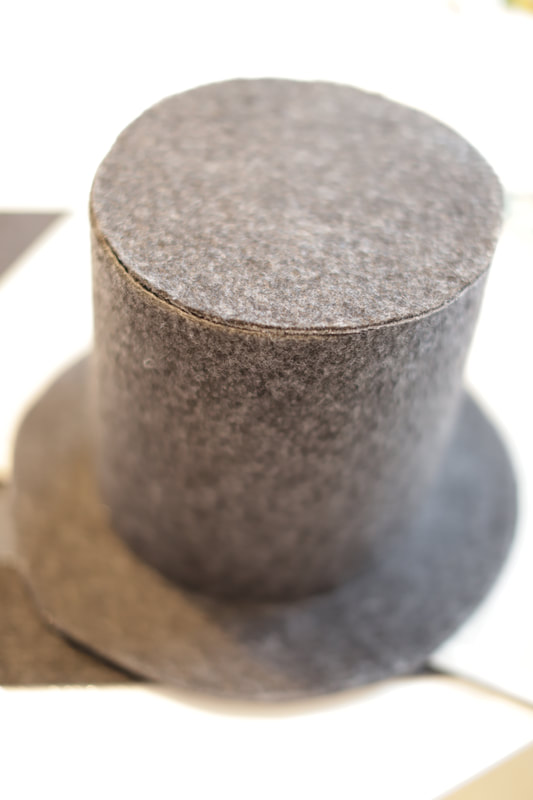
Mad Hatter? Magician? Steampunk technician? Showman or just a snowman? You got 10 minutes? I got you covered with this easy diy top hat project.
You will need:
1. Thick felt (I used felt tiles from the hardware store, they worked perfectly);
2. Thinner felt for decoration (optional);
3. Hot glue and cutter.
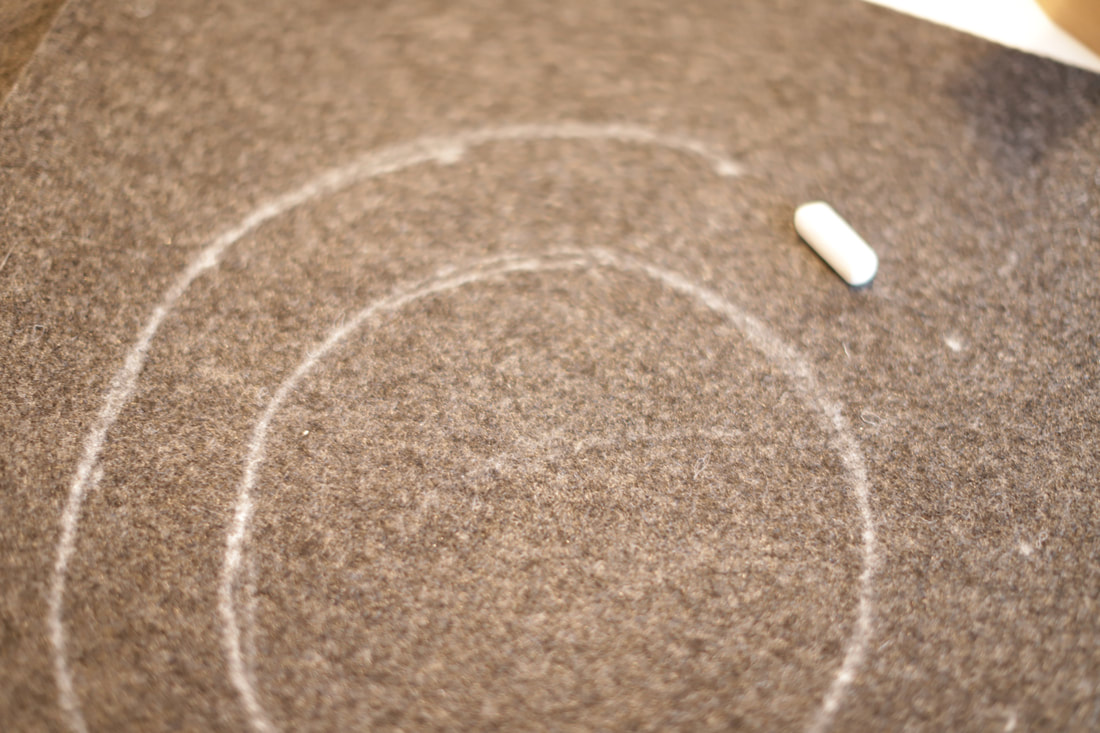
Start with measuring your head and marking the inside border of the hat. I doesn't have to be a circle, rather an oval. Then mark the brim (as wide as you want it to be).
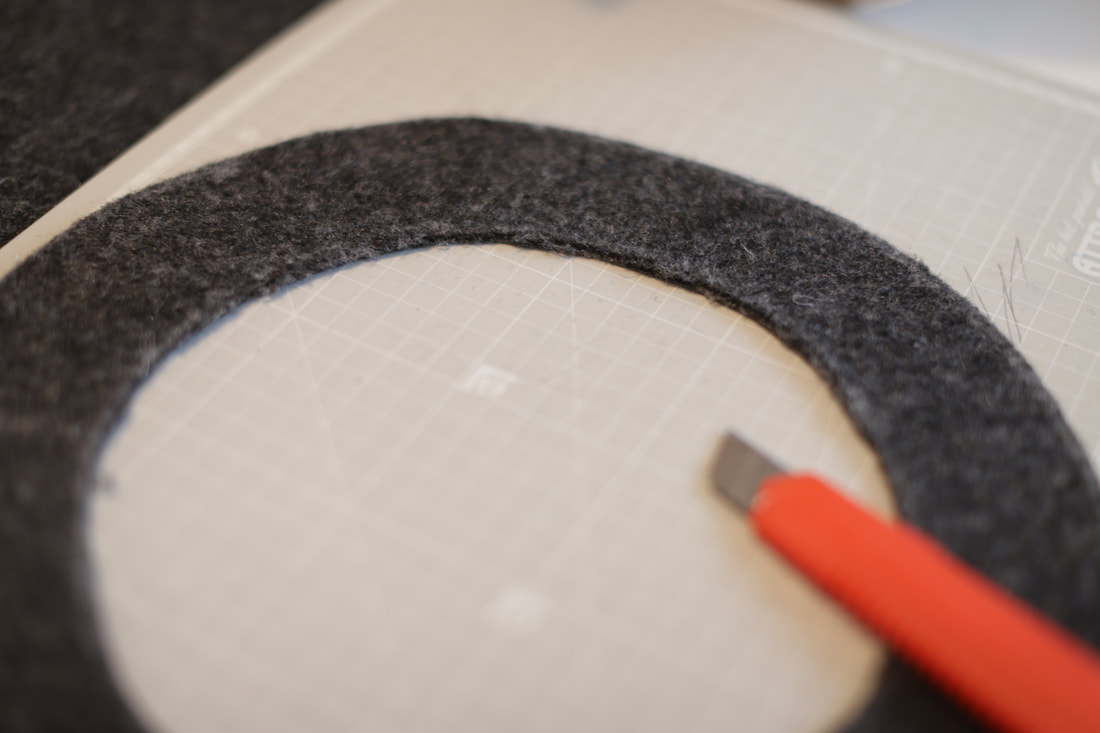
Cut your brim out.
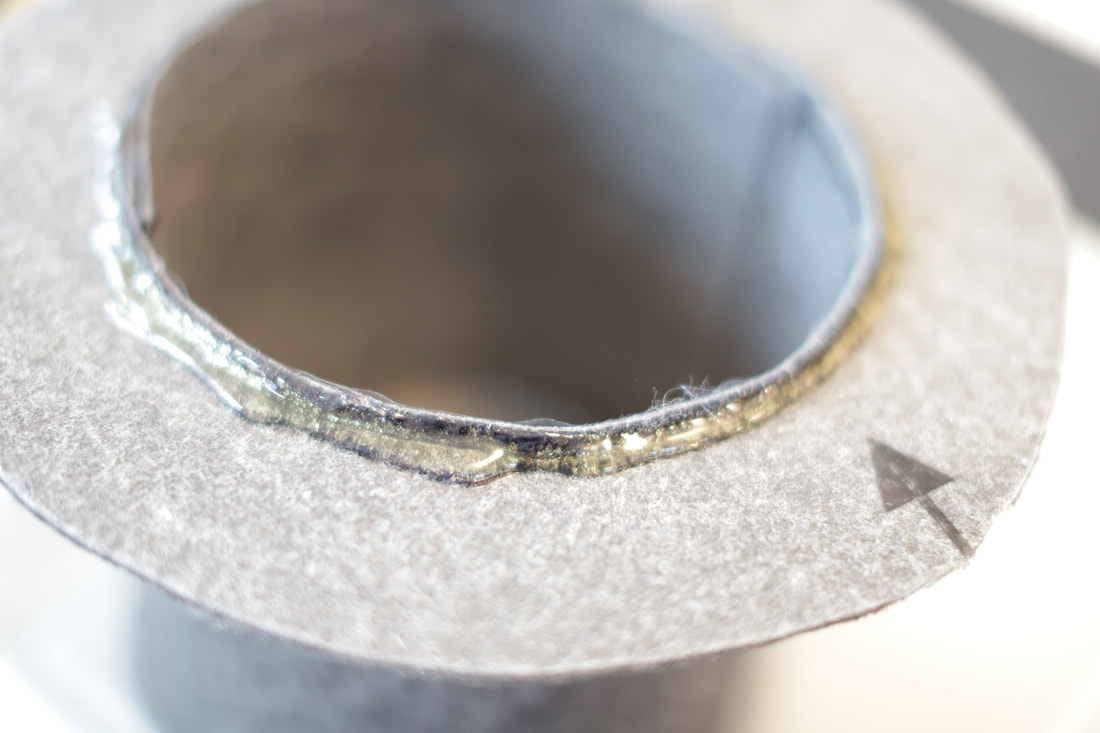
Roll a piece of felt and glue it on the inside of your brim. Now hot glue the brim cutout on top to close the hat.
Put additional hot glue as shown to make sure the brim holds.
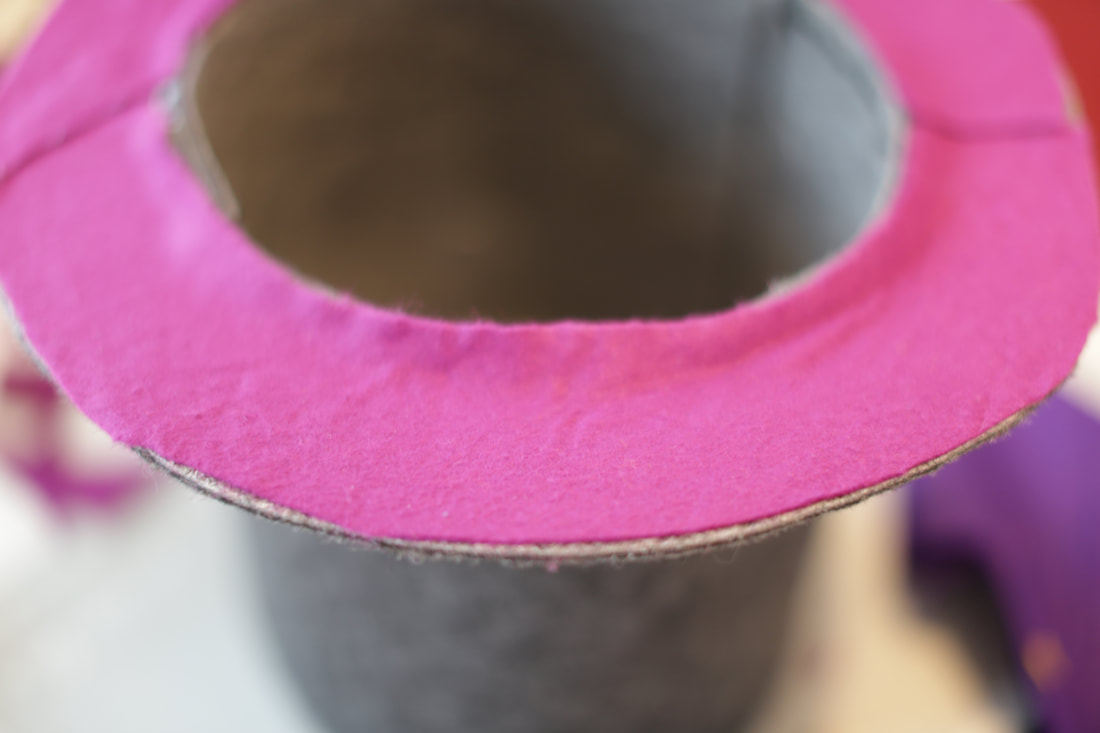
Cover with another colour thinner felt to make it all pretty.
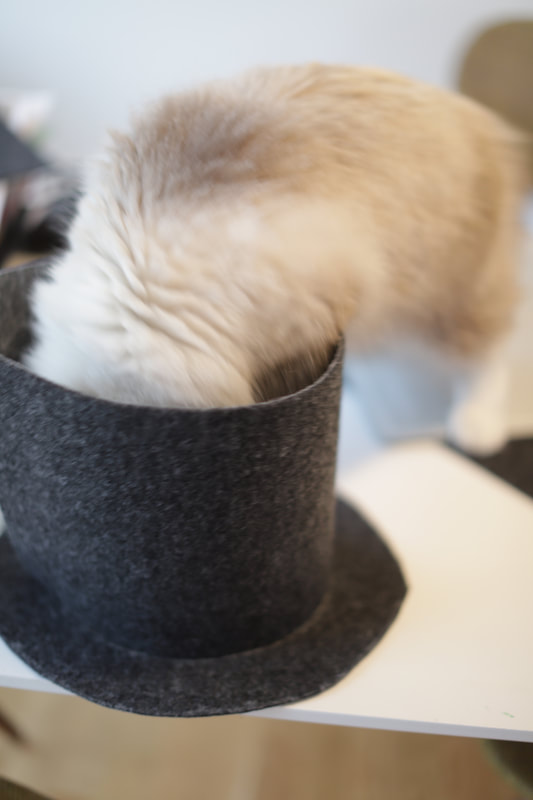
Your hat is ready! Decorate at your will and enjoy. :)
