Dollhouse Chandelier
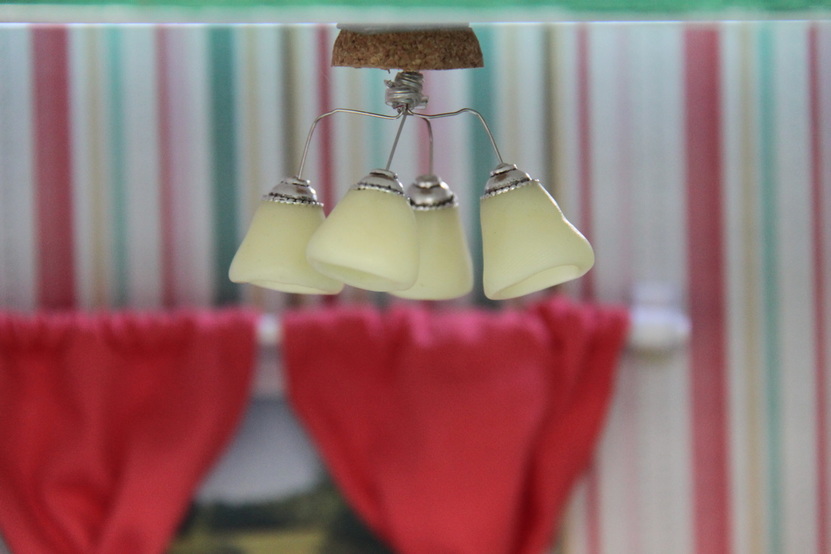
An easy to make chandelier for your dollhouse, no electricity involved. Perfect for beginners with small kids who cannot be trusted with working fixtures. You will need:
1. Polymer clay
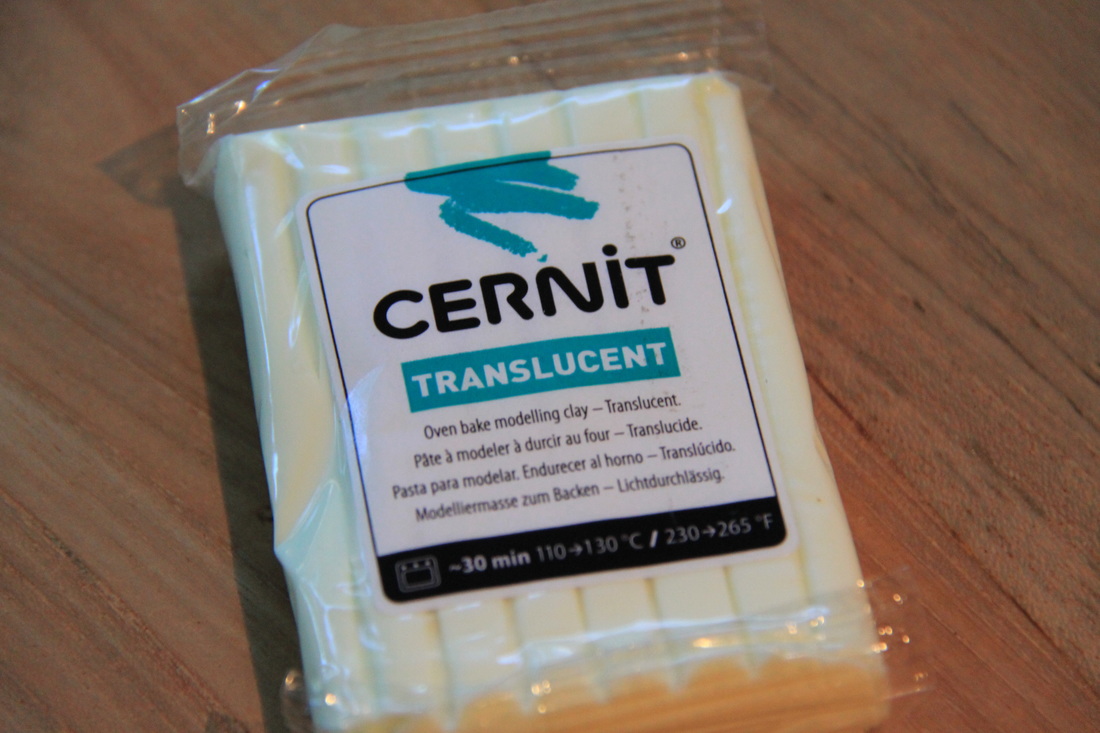
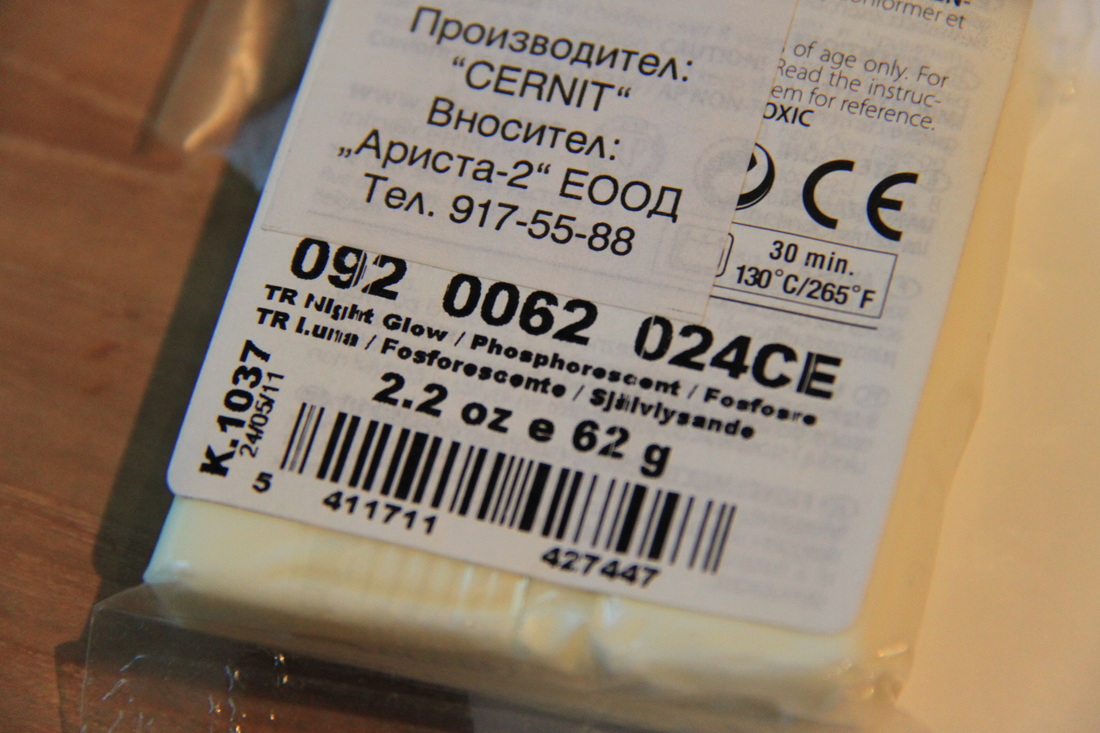
I used something called Cernit, since the Fimo I had in my drawer had too much glitter. It said translucent on the front, later I realized it actually says fluorescent on the back - double win for a lamp!
1. Polymer clay
I used something called Cernit, since the Fimo I had in my drawer had too much glitter. It said translucent on the front, later I realized it actually says fluorescent on the back - double win for a lamp!
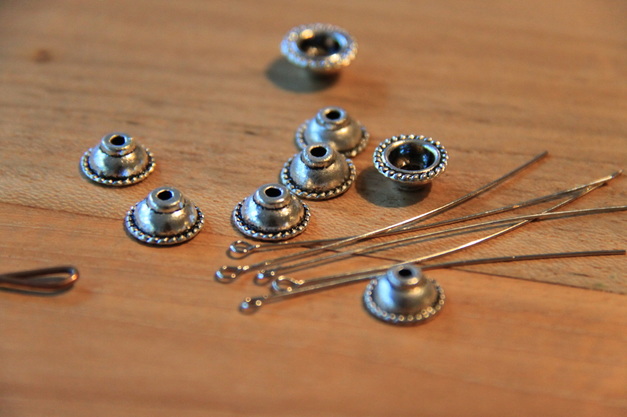
2. Jewelry making supplies - little end beads and wire
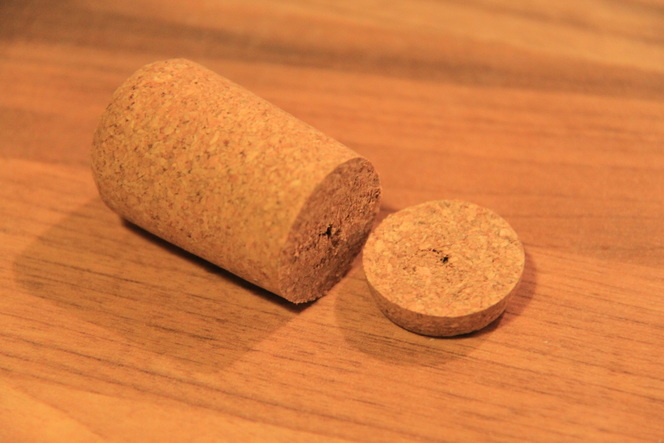
3. A piece of wine cork
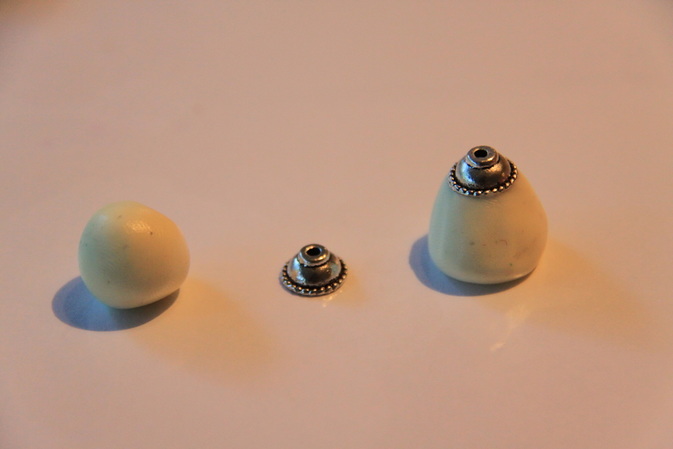
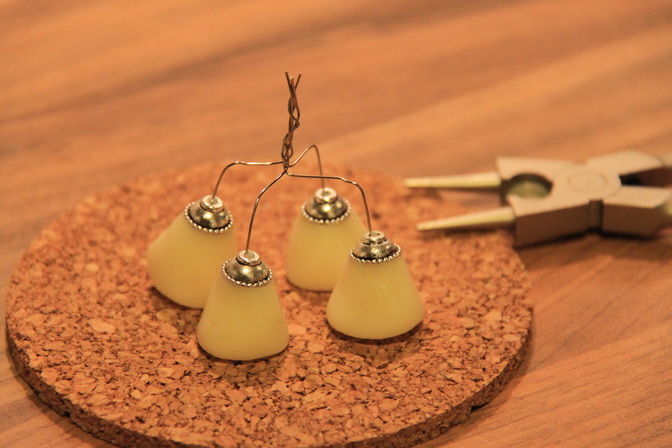
You have them? Get started with warming your oven according to your polymer clay baking instructions. Then work your clay, until you can easily shape it, cut it into four equal parts and form little balls. Don't forget to wash your hands first ( I always think my hands and workspace is clean, until I see the photos). Attach each ball to an end bead:
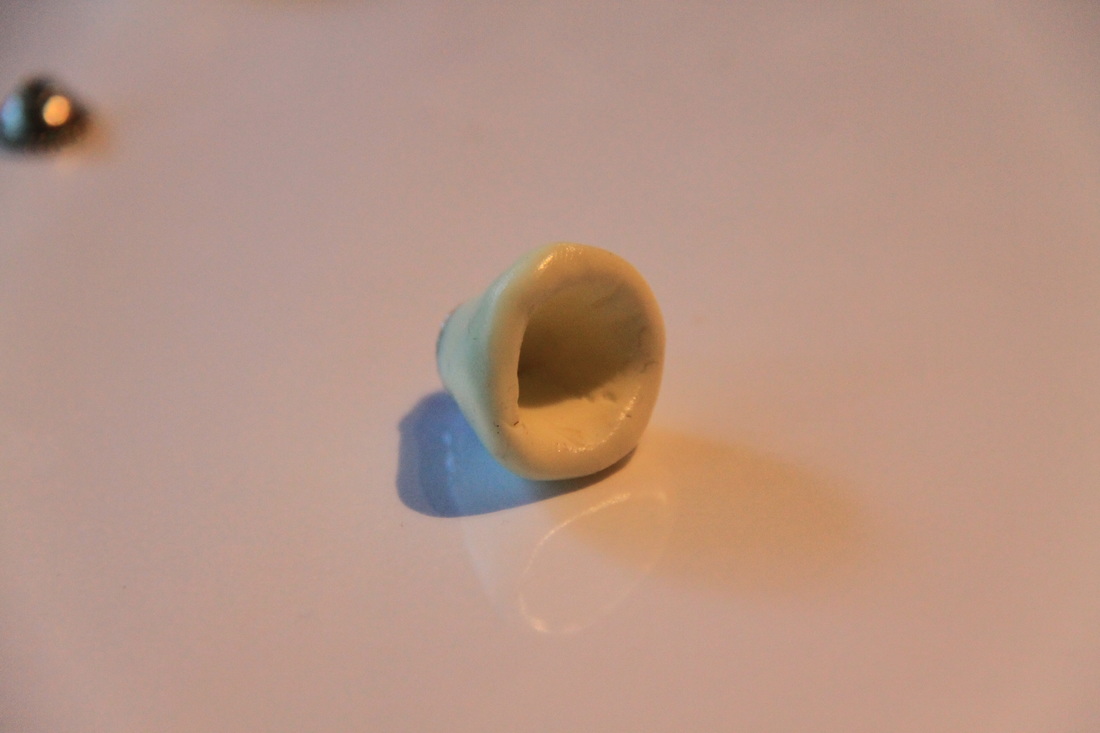
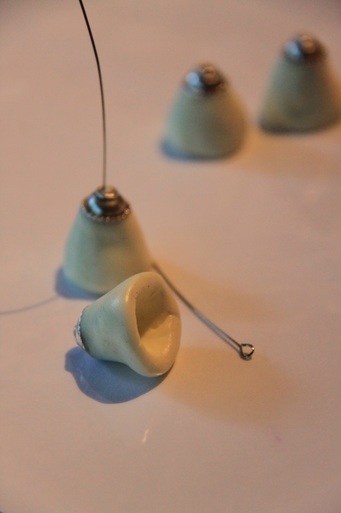
Push in with a pencil to make a little hole. Repeat with the other balls.
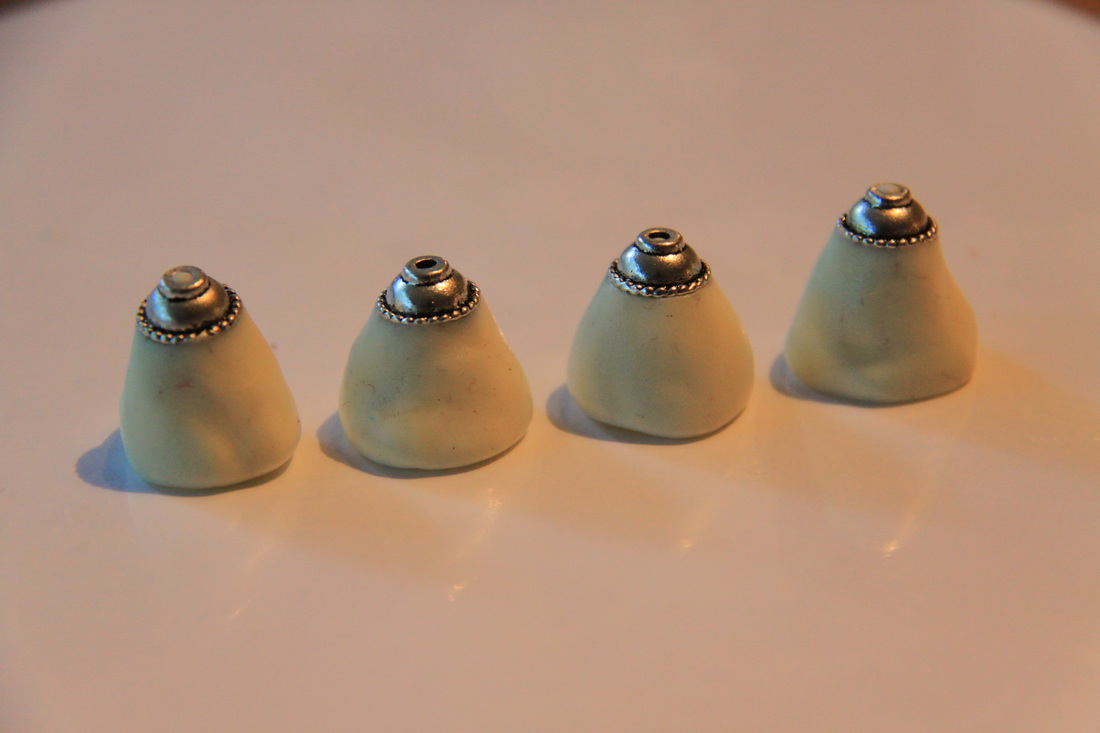
Insert a little wire in each lampshade.
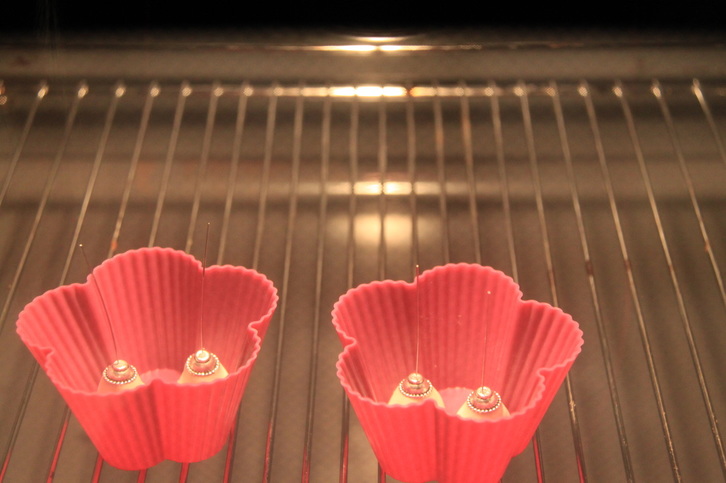
Bake! Almost there!
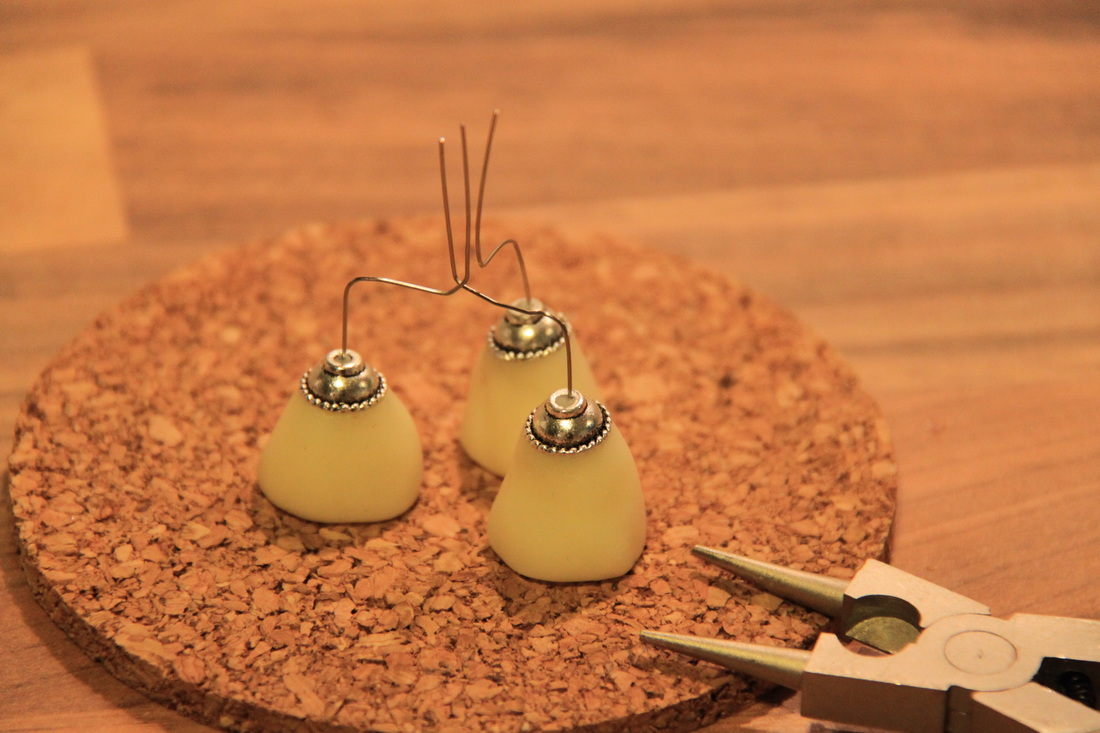
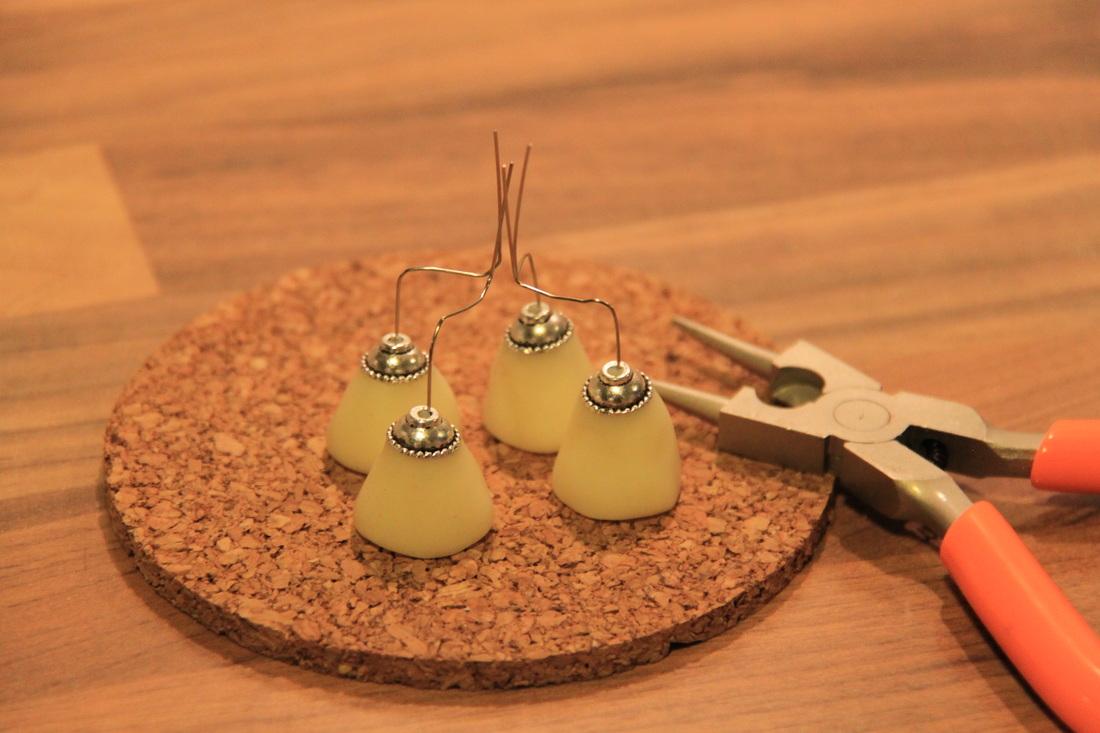
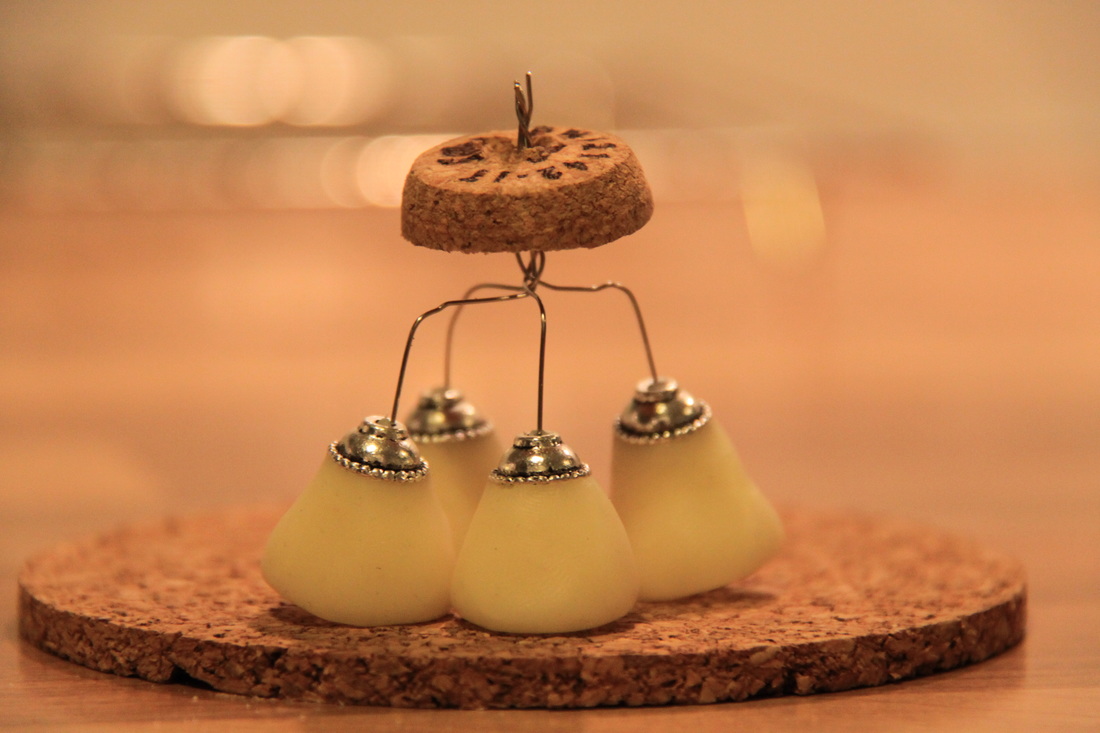
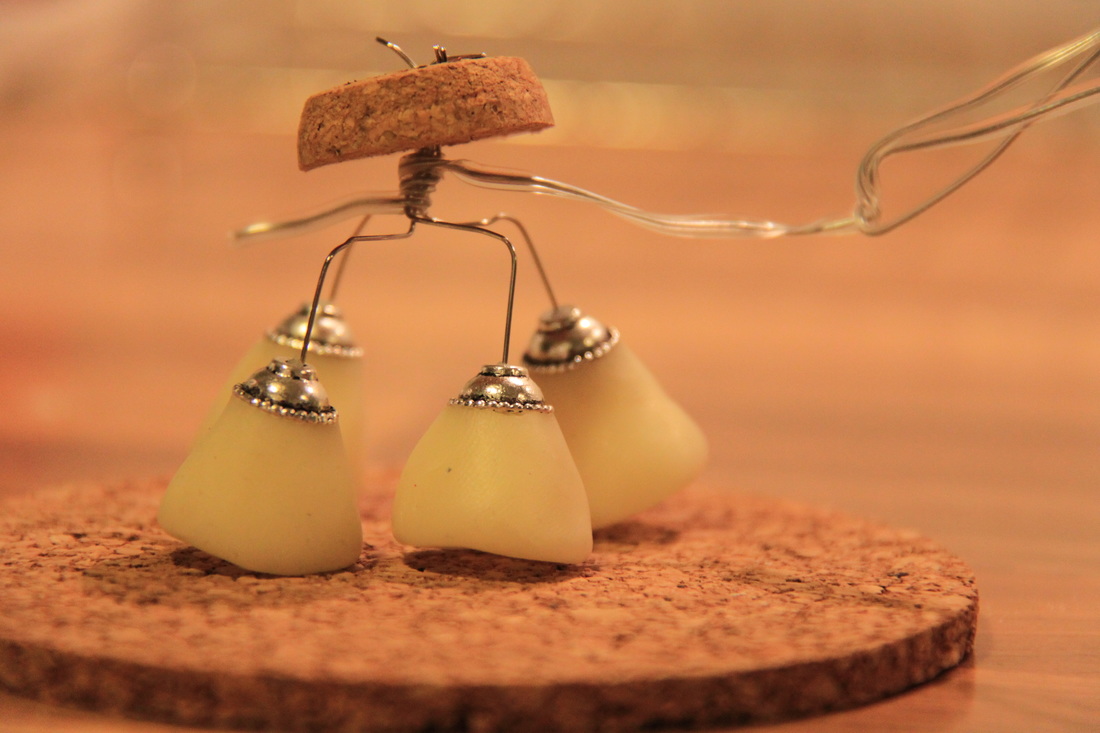
After your pieces are baked and cooled off a bit, you can attach them together into a chandelier:
Put the wine cork piece through the wires, bend them on the outer side and secure the inside with additional wire.
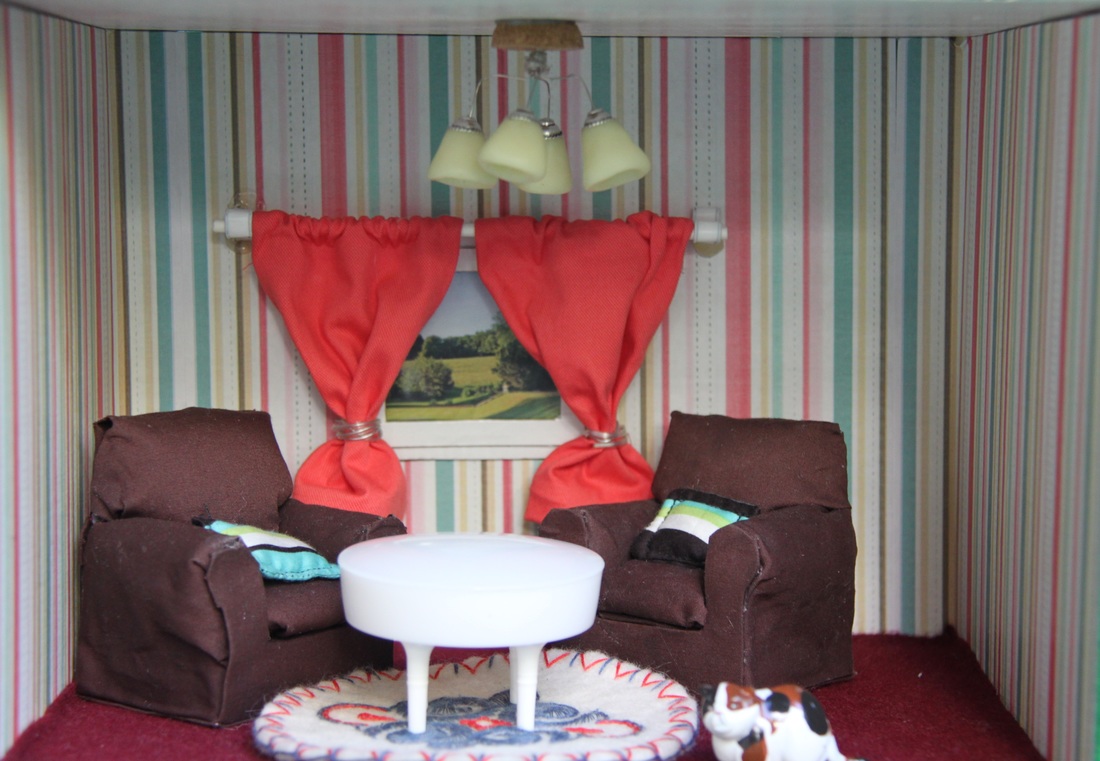
And it's ready. I glued mine with hot glue to the ceiling of the dollhouse, since I didn't want to drill a hole in it. It so cool, when you turn the lights off it really glows (sorry, I can't take a photo of that). But sure makes my living room much homier.
Have fun with your new creation!
