Felt flamingo
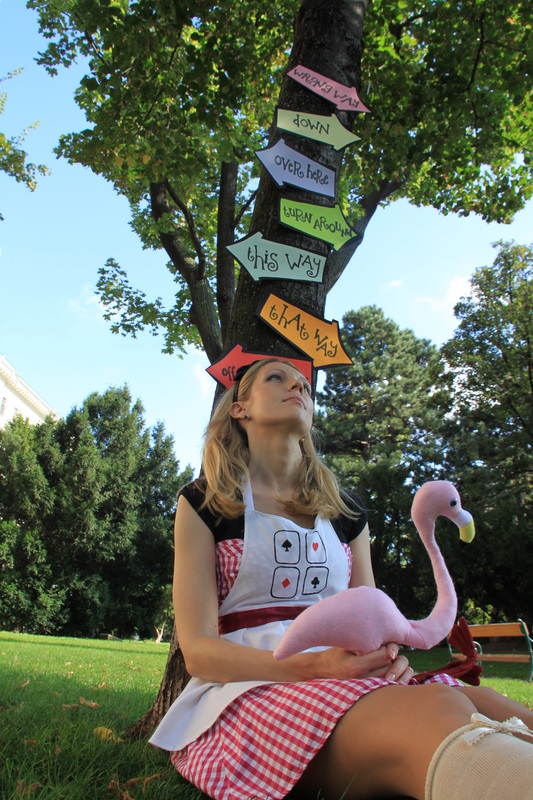
One lovely day I decided to make an Alice in Wonderland costume for a photoshoot. Something different, yet, recognizable. Alice - check, dress - check, apron-check, headband - check, stockings - check... Yet I was missing something. A flamingo, of course!

|

|
Since buying a cheap inflatable flamingo suddenly was not an option (what's with those delivery charges? ?), I had to make it myself. Just one of those moments, when no tutorials are available online and you have to create one.
So here it goes, my free tutorial and printable pattern for Alice's flamingo:
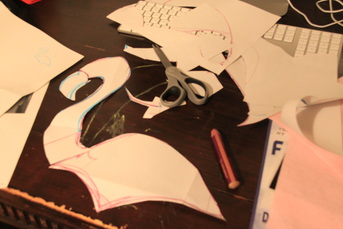
Step 1. Print the patterns.
So here it goes, my free tutorial and printable pattern for Alice's flamingo:
Step 1. Print the patterns.
| flamingo_head.pdf |
| flamingo_body.pdf |
|
In my case was, more, draw the patterns and hope for the best.
|
Step 2. Cut your flamingo pieces. Please note, patterns are without seam allowance. If you work with felt, you can get away with it, and yet I suggest you cut your material slightly bigger. You should have something like that:
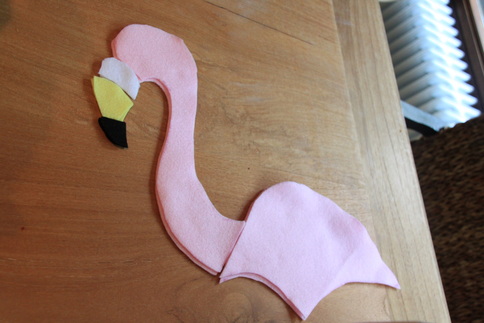
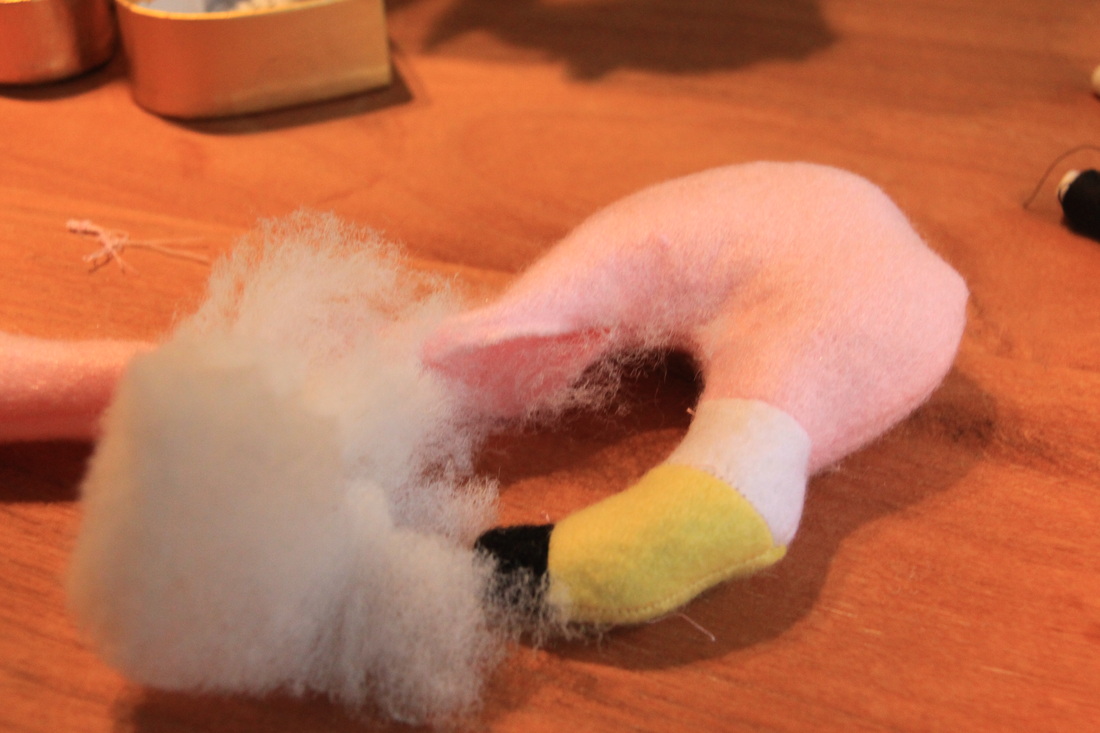
Step 3. Attach the beak(s):
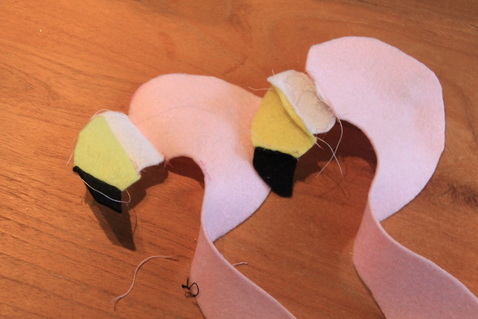
Step 4. Tricky. Sew right sides together the two parts of the flamingo head and turn inside out. Depending how big you cut your pattern, you might not be able to turn the head through the neck. If that happens, undo a stitch closer to the head and turn separately. You can always close it with ladder stitch. Stuff with polyfill as you go. Here is what I mean:
|
|
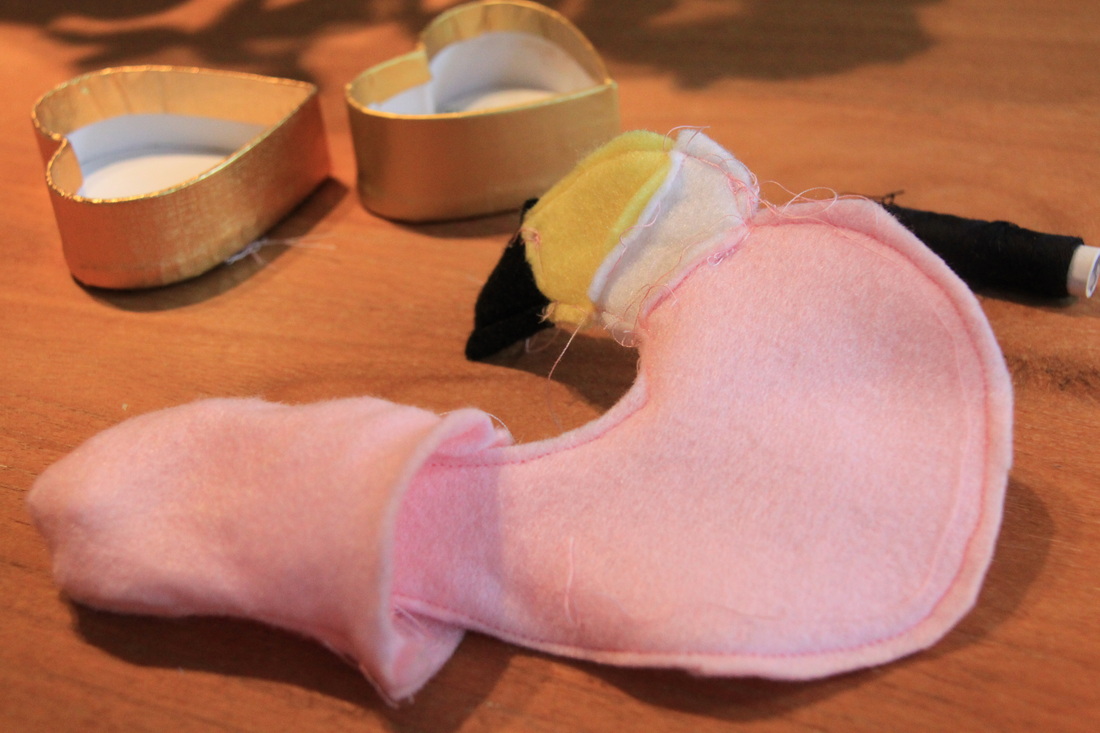
Step 5. Repeat with body - sew right sides together, turn, stuff, attach to body. Leave the unsewn part you used for turning open for now, as we need to attach the legs.
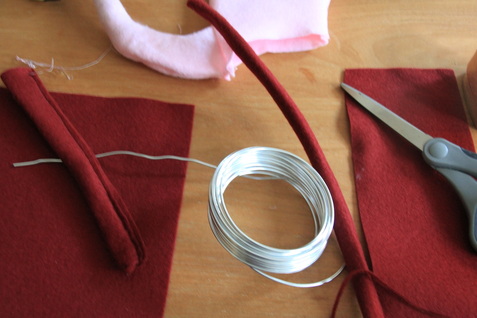
Step 6. Sew skinny tubes for the legs. Turn, so you don't see stitches. You can put wire inside so you can bend them later, or just stuff with polyfill:
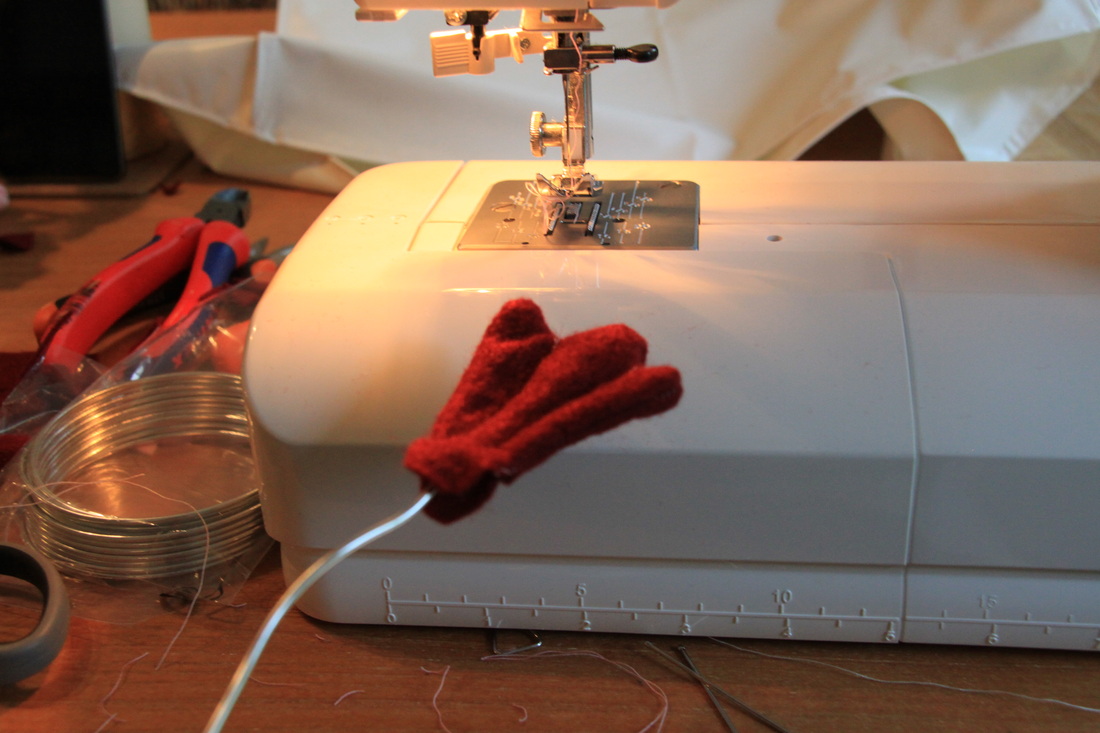
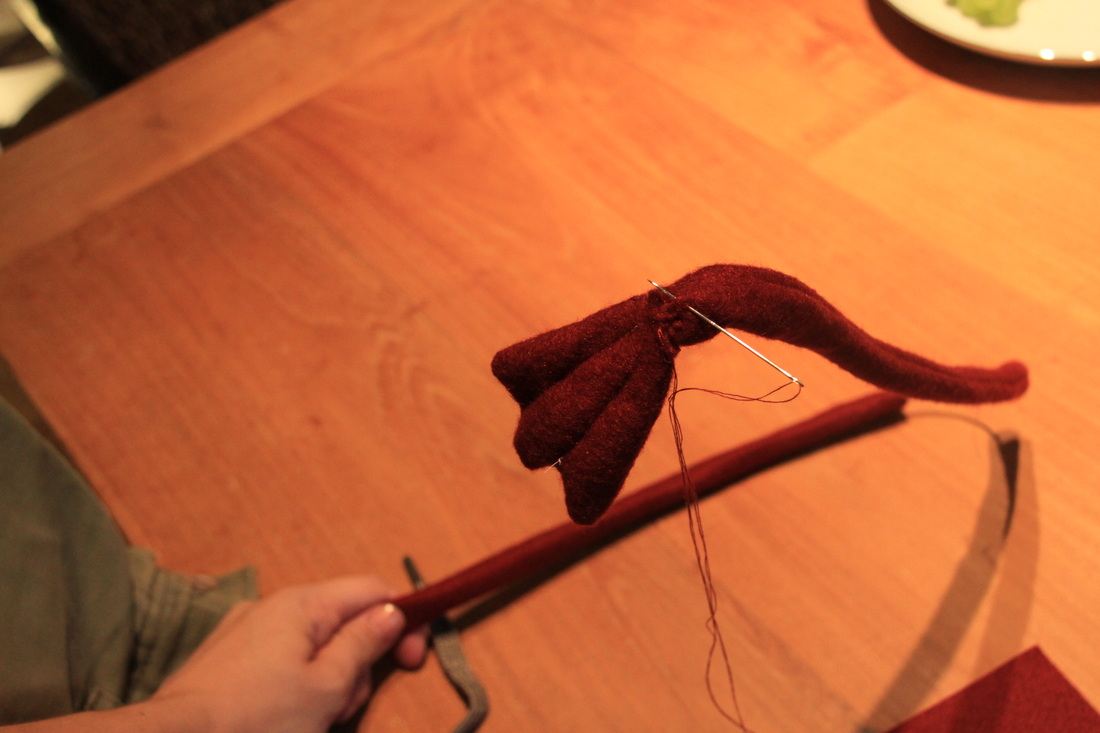
Step 7. Make feet and put wire inside (if you are using). Attach to tubes.
|
|
Step 8. Attach legs to body and close the body. Glue or embroider eyes. You have a flamingo!
Step 9. Give it to your Alice.
Happy creating!
