Homemade gummies
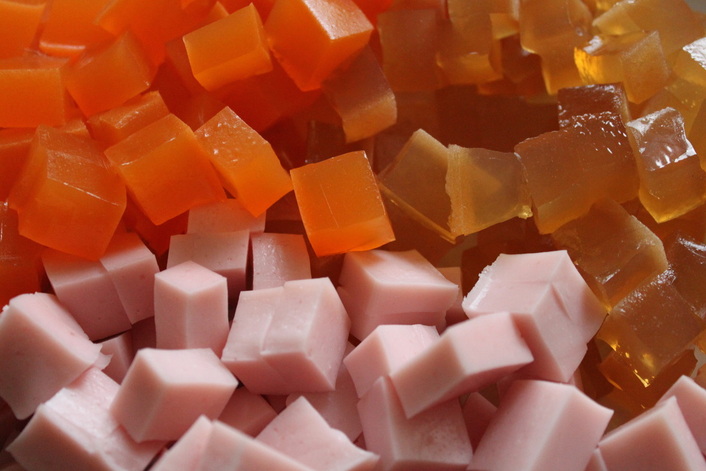
Bears or squares! Or even dinosaurs! A cheeky way to get your kids to eat their carrots. A combination of vitamins and minerals with bonus collagen and protein. Yup, gummy :)
You only need:
1. 1 cup of fruit or veggie juice
2. 3 little packs (3 spoons) ground gelatine
3. Honey/ agave syrup/ maple syrup/ stevia/ sweetener of your choice.
How you do it:
You only need:
1. 1 cup of fruit or veggie juice
2. 3 little packs (3 spoons) ground gelatine
3. Honey/ agave syrup/ maple syrup/ stevia/ sweetener of your choice.
How you do it:
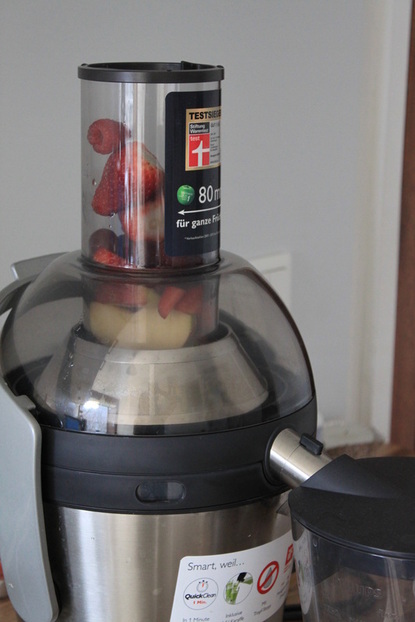
Get the juice flowing. Here, I'm making strawberries, rasberries, grapes and apples.
A few notes:
Don't use kiwi or pineapple - gelatine doesn't work on them. Or, if you use kiwi, just make sure it's completely ripe or boil it for a sec.
Use at least one fruit/ vegetable with strong aroma, otherwise your gummies will taste like nothing, or you would have to add flavouring (which is defeating the purpose of having those treats home-made). Like strawberries or mango. Or, add a tad of lemon/ lime/ key lime juice.
If you care about the colour, colour-coordinate your fruit/veggies.
Some combination ideas:
Orange: Carrots with tangerines or oranges, with some lime juice;
Red: Strawberries/ other berries, apple and/ or red beets;
Yellow: Pear, lemon/ key lime, or yellow bell pepper with apple and lemon
Green: Green grapes (don't let that juice stay out too long, it will change colour), cucumber, kale.
What I also like is mixing plain yogurt with juice.
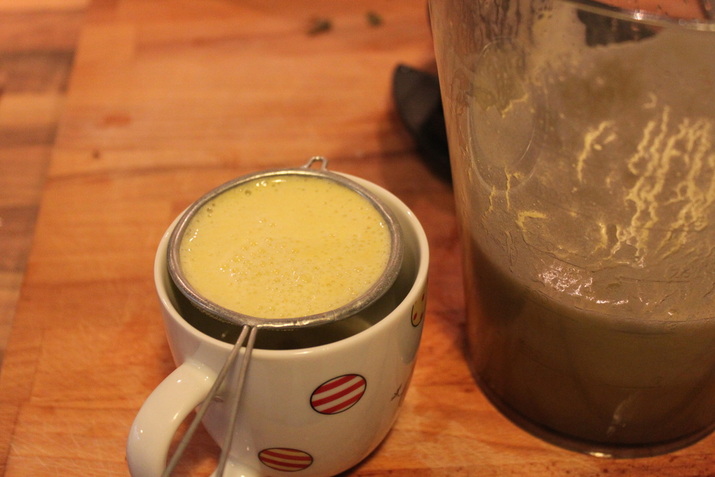
Once you have your juice, you might have to filter it to make those gummies truly transparent:
A few notes:
Don't use kiwi or pineapple - gelatine doesn't work on them. Or, if you use kiwi, just make sure it's completely ripe or boil it for a sec.
Use at least one fruit/ vegetable with strong aroma, otherwise your gummies will taste like nothing, or you would have to add flavouring (which is defeating the purpose of having those treats home-made). Like strawberries or mango. Or, add a tad of lemon/ lime/ key lime juice.
If you care about the colour, colour-coordinate your fruit/veggies.
Some combination ideas:
Orange: Carrots with tangerines or oranges, with some lime juice;
Red: Strawberries/ other berries, apple and/ or red beets;
Yellow: Pear, lemon/ key lime, or yellow bell pepper with apple and lemon
Green: Green grapes (don't let that juice stay out too long, it will change colour), cucumber, kale.
What I also like is mixing plain yogurt with juice.
Once you have your juice, you might have to filter it to make those gummies truly transparent:
Then, pour it in a small saucepan over medium heat and sprinkle the gelatin on top:
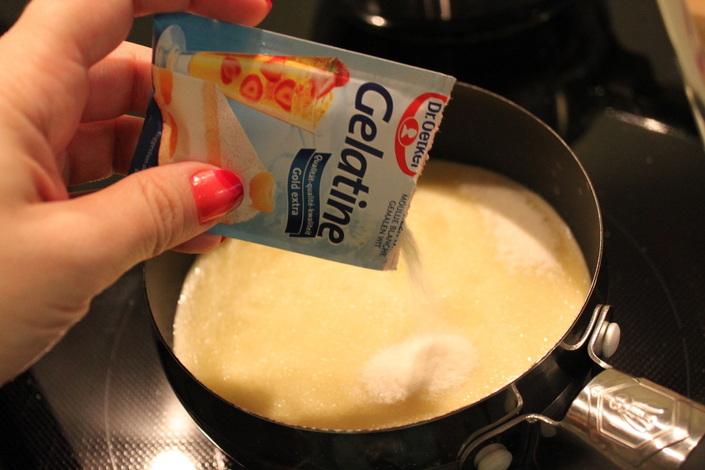
Mix until gelatine is absorbed, but don't let the juice boil.
No, the colour doesn't change, this is just me snapping random photos everytime I make gummy squares.
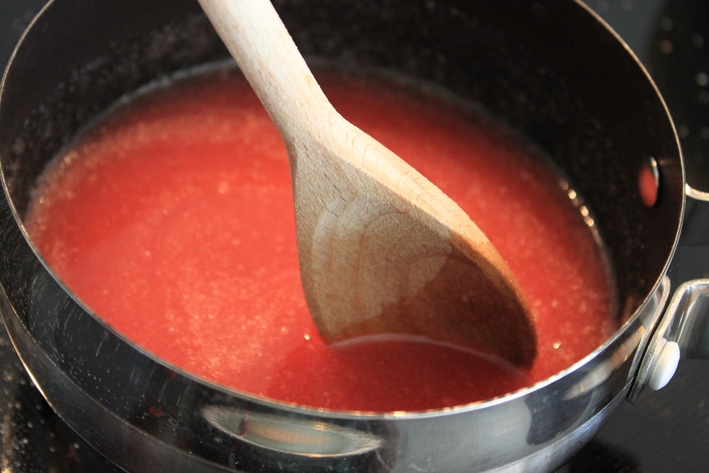
Once the gelatine is absorbed, remove from the heat and add your choice of sweetener. Honey works well, but my favourite is Agave syrup, since it doesn't add to the aroma. Don't be fooled - even if your juice is sweet, you would need some extra. When it gets to gummy state it looses the taste.
At this stage you may decide to mix in some probiotics - if you do so, wait until the mixture cools off first.
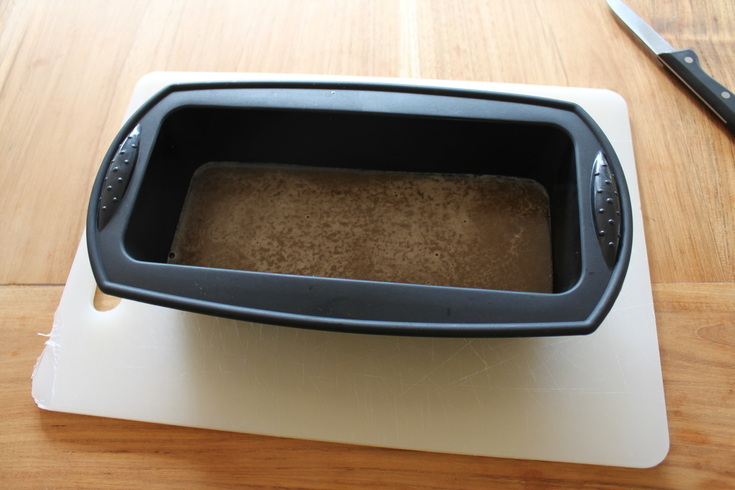
Pour your creation into silicone mold(s) and let your gummies set in the fridge. With my fridge it takes about an hour.
Once the gelatine is absorbed, remove from the heat and add your choice of sweetener. Honey works well, but my favourite is Agave syrup, since it doesn't add to the aroma. Don't be fooled - even if your juice is sweet, you would need some extra. When it gets to gummy state it looses the taste.
At this stage you may decide to mix in some probiotics - if you do so, wait until the mixture cools off first.
Pour your creation into silicone mold(s) and let your gummies set in the fridge. With my fridge it takes about an hour.
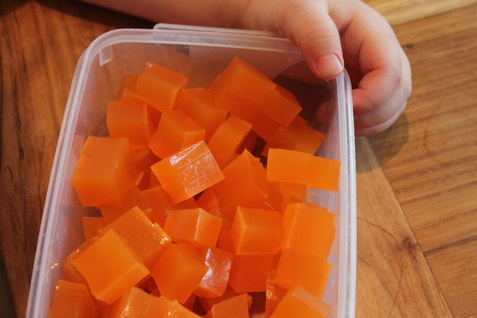
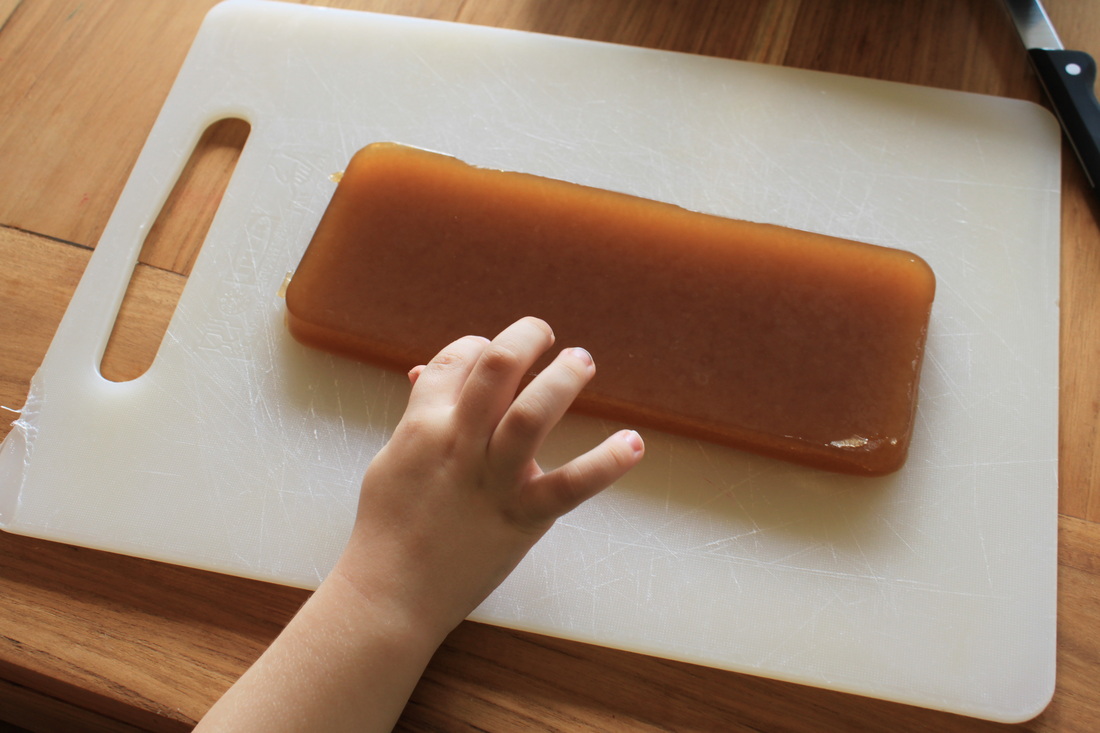
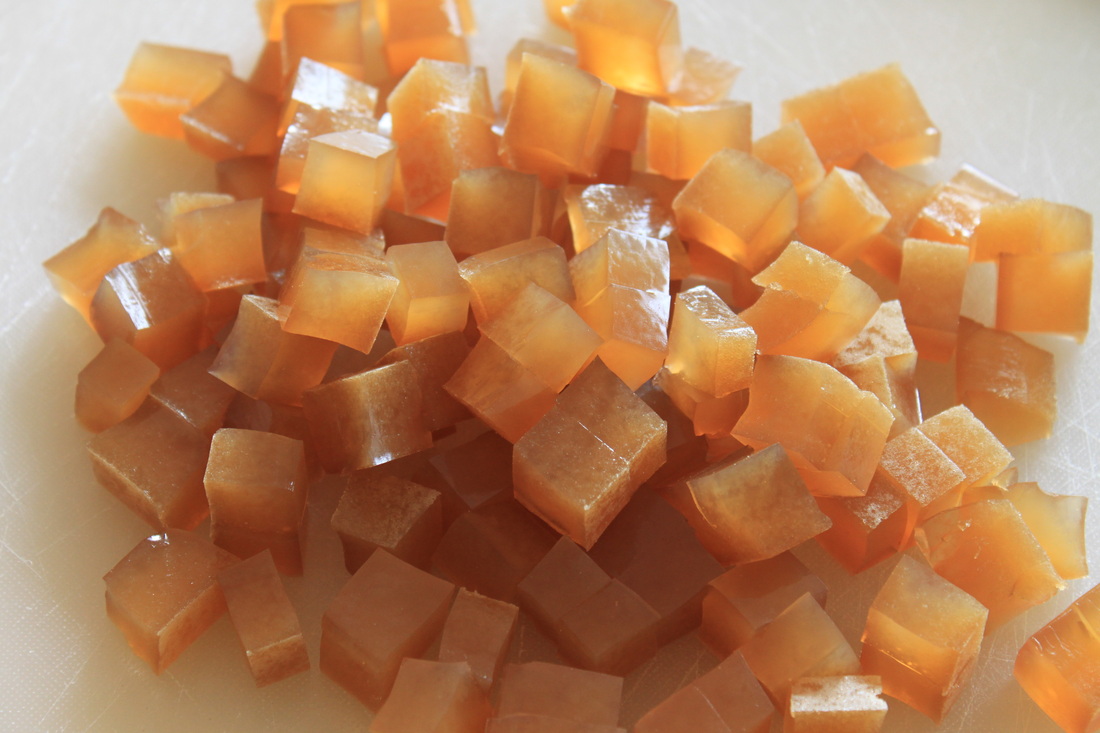
If you are using a big mold like me, cut into squares or other shapes with a knife or a cookie cutter.
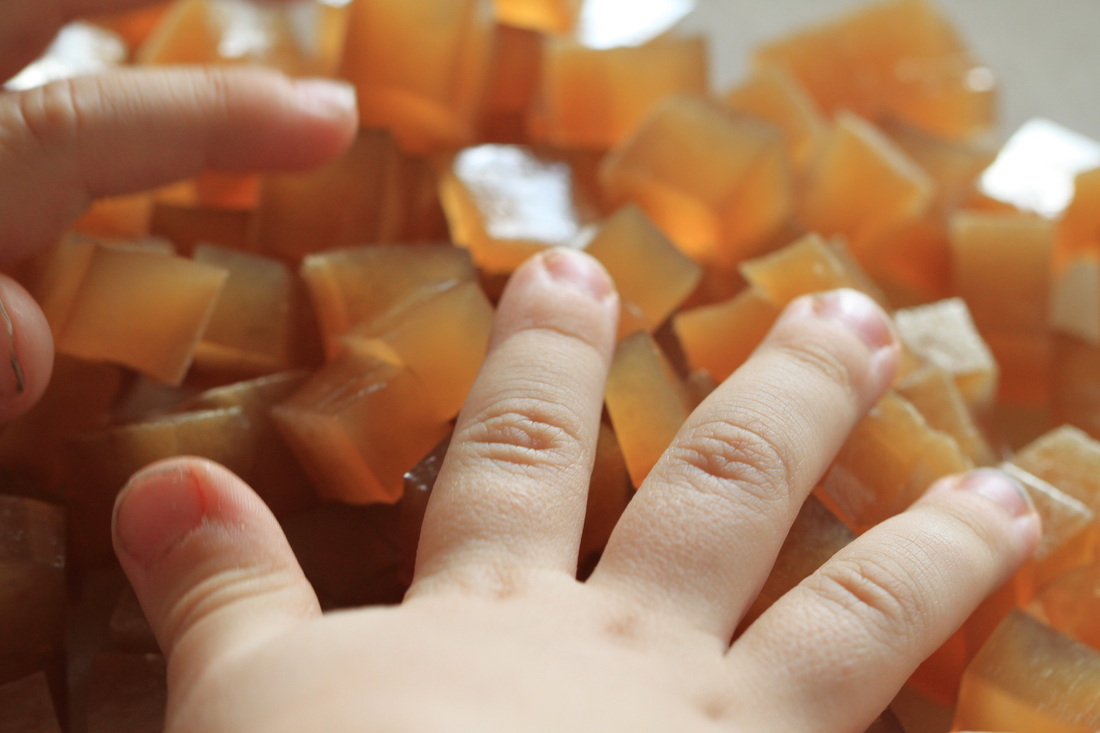
There you go, your own homemade gummies! If there are any left after you show them to your kids, you can store them in a fridge for a week. Enjoy!