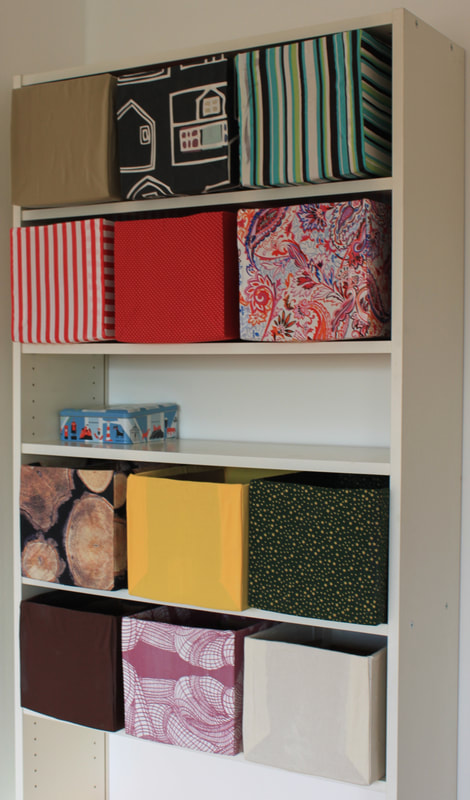
Pretty Storage Boxes
You want to spice up your room, or need to organize your craft supplies in a pinch? Look no further, this idea is for you.
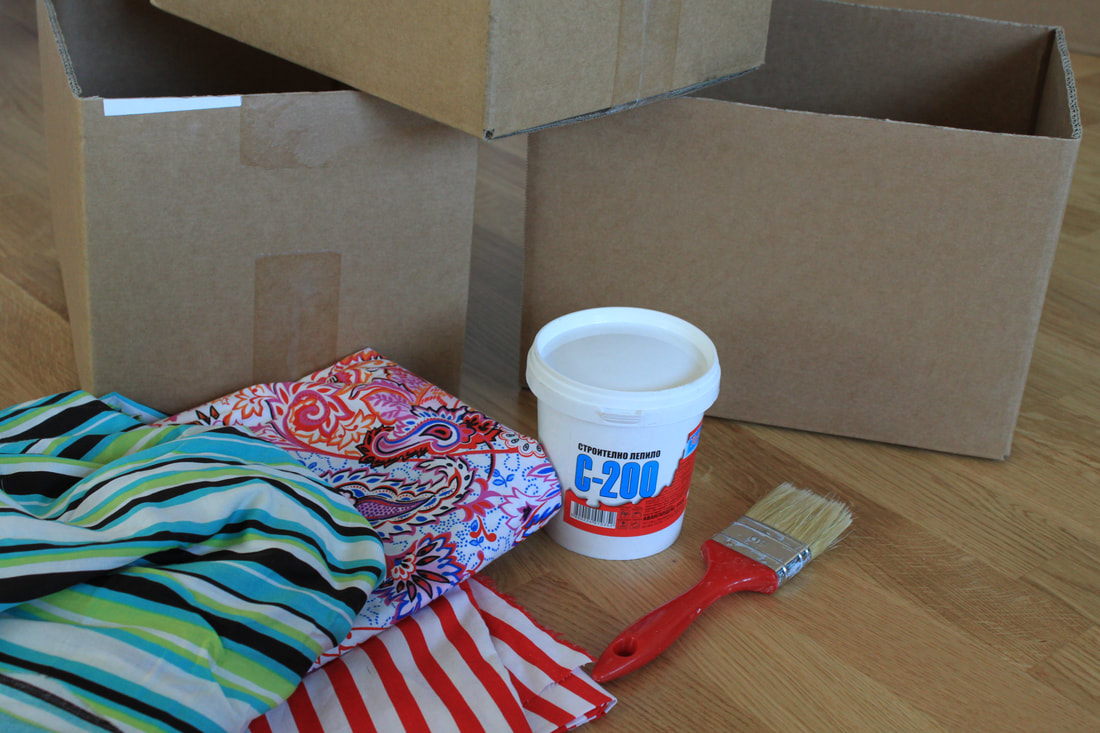
You will need:
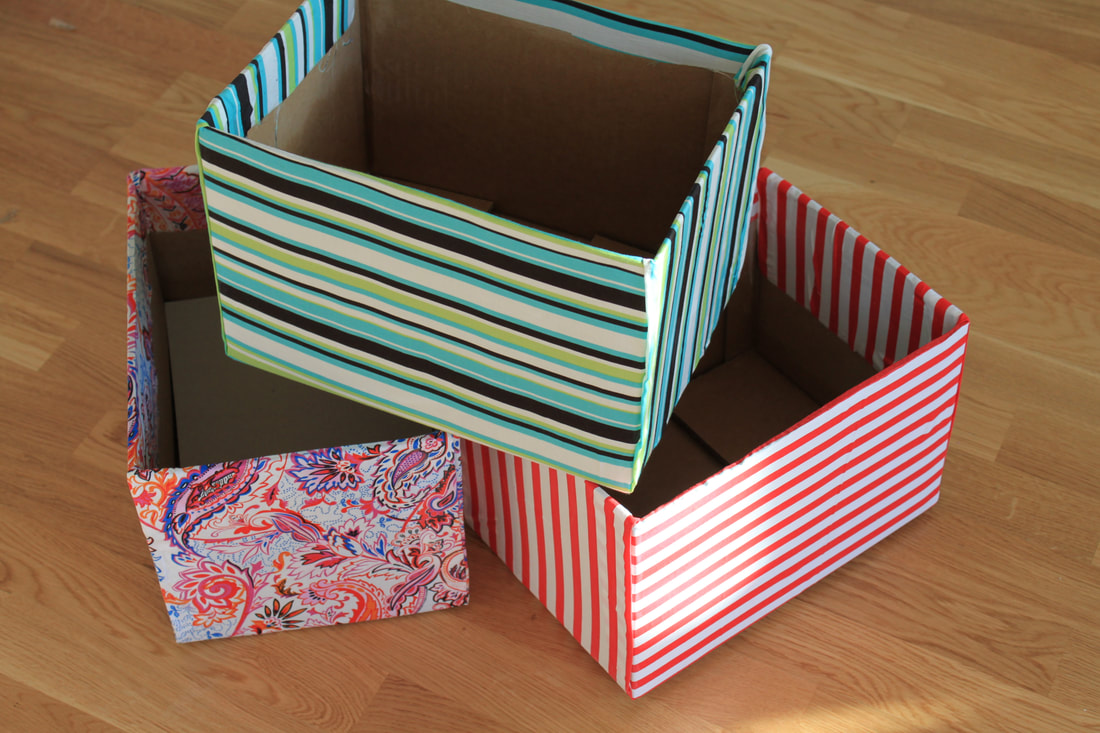
1. Simple cardboard boxes without the top ( I used some of my small moving boxes);
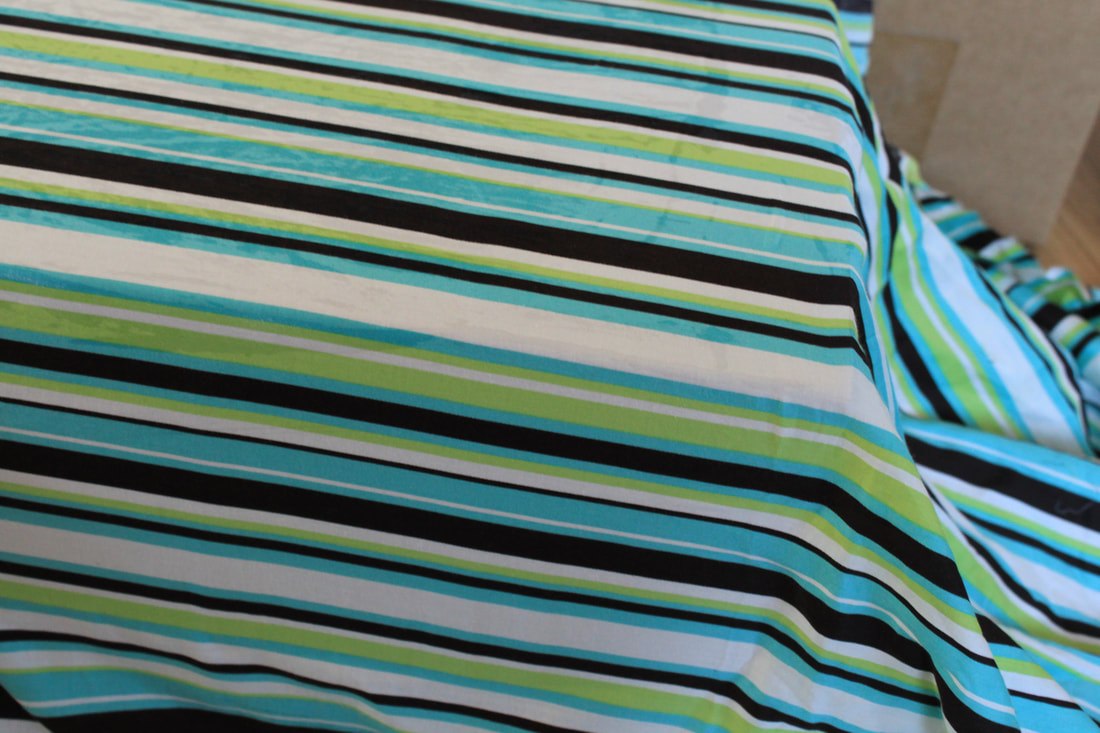
2. Fabric big enough to cover each box (alternatively, pretty paper would do);
3. A big pot of modge podge or any sealing glue that dries transparent (I used one from the hardware store);
4. A big brush and scissors;
5. (optional) Pretty drawer handles or knobs.
You will need:
1. Simple cardboard boxes without the top ( I used some of my small moving boxes);
2. Fabric big enough to cover each box (alternatively, pretty paper would do);
3. A big pot of modge podge or any sealing glue that dries transparent (I used one from the hardware store);
4. A big brush and scissors;
5. (optional) Pretty drawer handles or knobs.
Start by spreading some glue evenly on the bottom of your box.
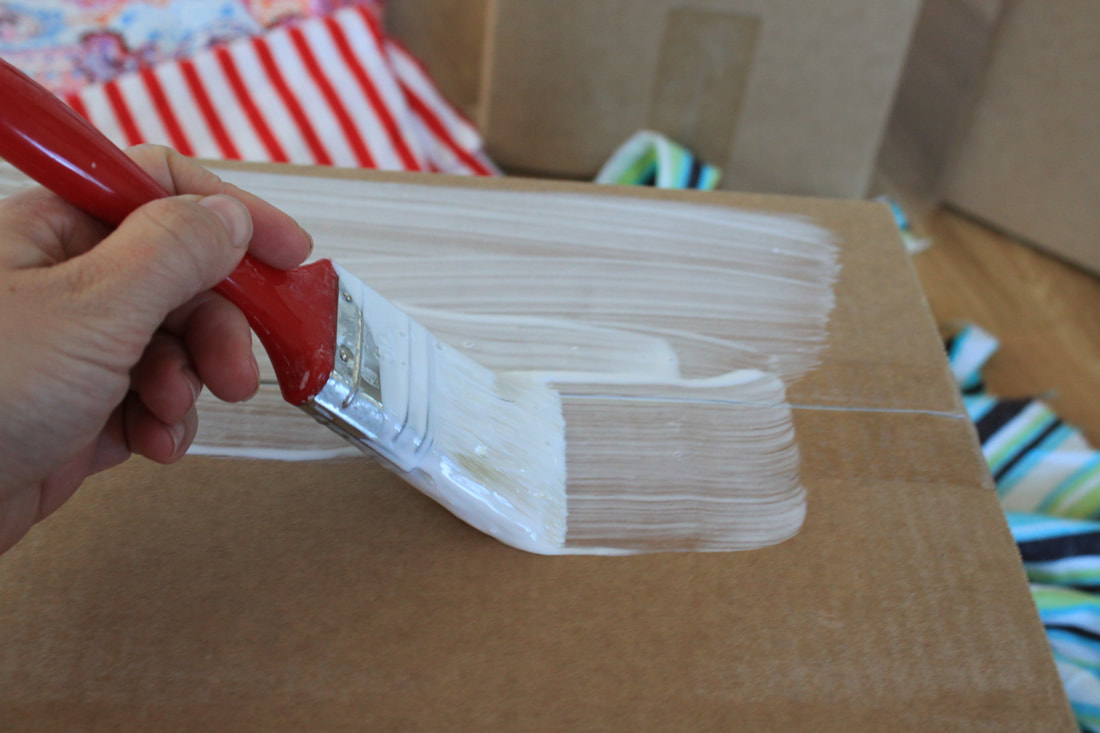
Cover with fabric. Make sure to even out any bubbles.
Continue until you cover the whole box. The thinner the material is, the easier it is to use, but it might be too transparent in the end. You should also try avoid too stretchy, waterproof or beaded fabric, as it might not glue evenly or at all.
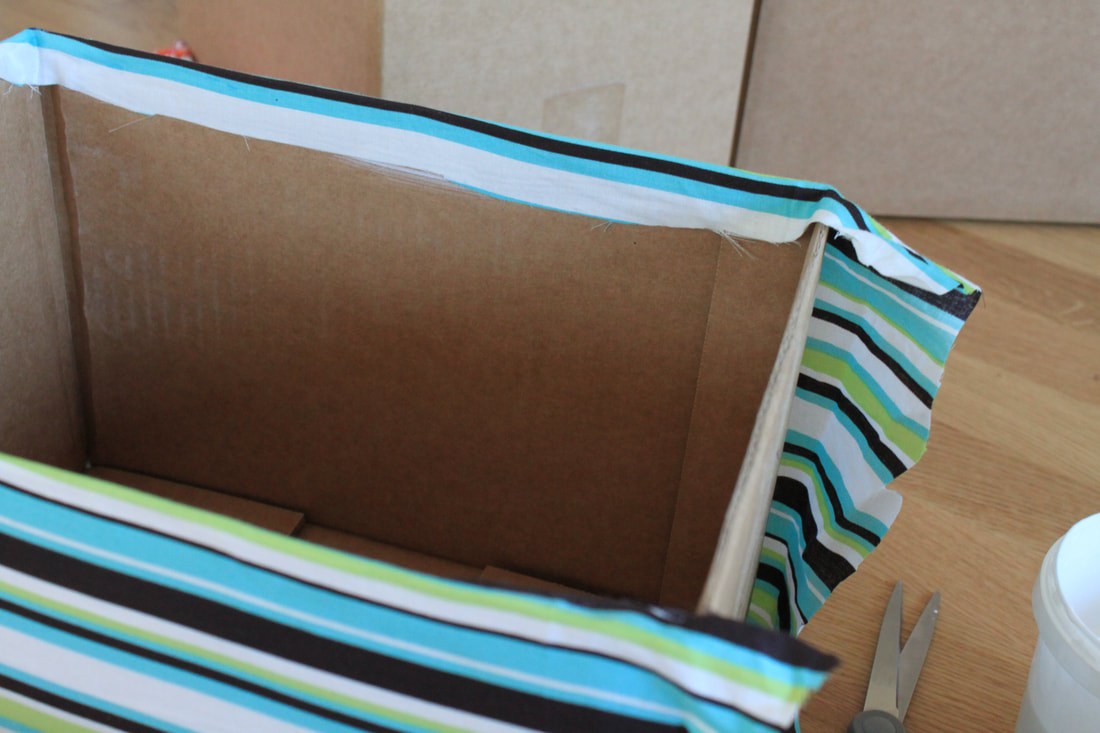
Glue nicely the corners so your material doesn't fray.
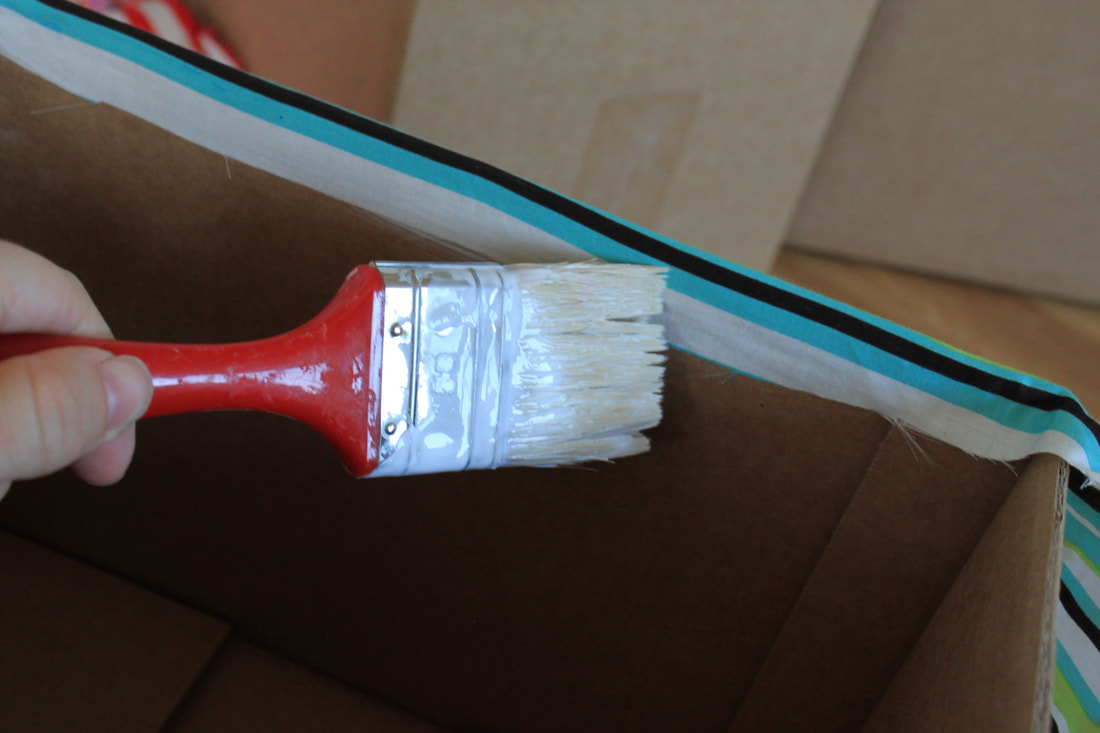
An optional step would be to also spread glue over the fabric to seal it. I didn't do that with all the boxes, since it takes a LOT of glue and I didn't need extra sealing for the purposes I was to use the boxes for. Yet, if you are covering your box in fancy paper, you should most definitely seal it, so it doesn't get damaged in a week's use.
Once you are done, let the box dry, preferably overnight, before you fill it. And you have a beautiful storage. If you feel extra fancy, you can get matching knobs. Have fun!
Once you are done, let the box dry, preferably overnight, before you fill it. And you have a beautiful storage. If you feel extra fancy, you can get matching knobs. Have fun!